











Kinescope Video Blog
Tutorials
How Kinescope helps you get things done — and what you can put into practice.
Events
Kinescope events and live sessions with experts.
Courses
Video marketing, production,
and what Kinescope can do.

What's new
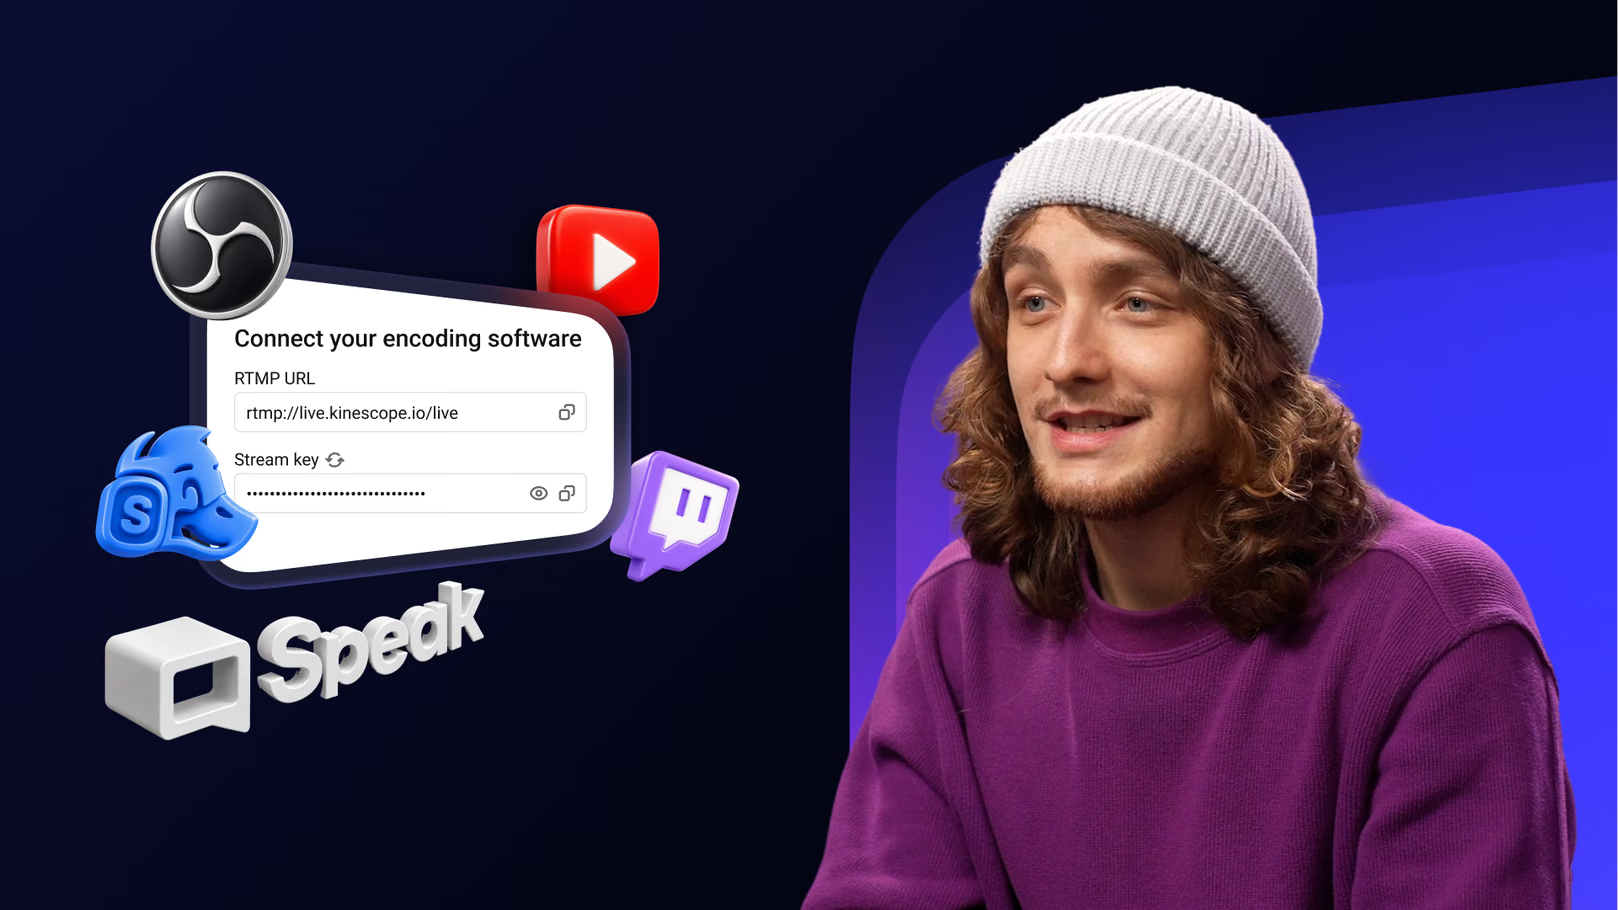
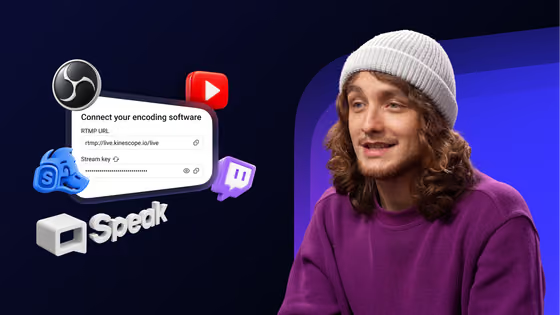
How to Get Video into Your Kinescope Live Stream
Connect a video feed to Kinescope, check that it appears in the preview, and start the broadcast for your viewers.
Hi! If you want to put a picture into your Kinescope live stream, you need an encoder: OBS, Zoom, StreamYard, or any other program that combines video sources, builds a virtual scene and sends the picture out to air. You need to download, install the software, configure it and keep it open for the entire broadcast. In Kinescope, you can skip that step. The video stream comes from Speak, the video meeting service built into the platform. I'm Dima, and today we'll connect Speak to a live stream exactly the way you'd connect any other encoder. Get the principle once, and you'll be able to put the picture on air from any source. Let's go! Every signal source connects to Kinescope the same way, through the RTMP URL and stream key. Paste them into OBS, Zoom, or Speak, and the stream goes into your live event. First, let's create the live event itself and get the connection details. Open Kinescope. In the "Live" section, click "New" and choose the event type. Give it a title, check "Save video after live stream" and click "Create event." You land in the "Studio" section. The "RTMP URL" and the "Stream key" sit in the middle of the screen. Copy them. Done. That's all the details you need. Now we hand them over to the signal source. And today that source is Speak. By the way, we cover the live event's own settings in detail in a separate video. In the left-hand menu, open "Speak" and create a room. Speak generates a unique URL link. Copy it and send it to the other people on the broadcast — speakers, moderators, or guest experts. Done! The Speak call itself is the picture we're broadcasting to viewers. Now let's send a stream to the Studio. At the bottom of the call screen, open the "More" menu and choose "Restreaming." This item is available to the room's host. Fill in the fields. In "Name," write where the signal is going. Paste the RTMP URL into "Stream URL" and the stream key into "Stream key." Click "Save." Flip the toggle. An "ONLINE" badge lights up next to the name. Speak is sending the signal. And that's the whole setup. Any other encoder connects on the same principle. OBS, StreamYard, Zoom, anything else. Back to the live event in Kinescope. The signal has arrived, and the preview shows the picture from the room. Click "Go live," and the broadcast starts for your viewers. Done! From there, it's an ordinary Kinescope live stream. "Chat," "Banners," and "Analytics" work as always, and the recording is saved to the Catalog automatically. And that's it. Kinescope gives you a server URL and a stream key, and the source takes them. Speak saves you from installing anything, but OBS, Zoom, StreamYard, or any other encoder that supports RTMP can stand in place just as well. Thanks for watching. See you on Kinescope. See you in the future.
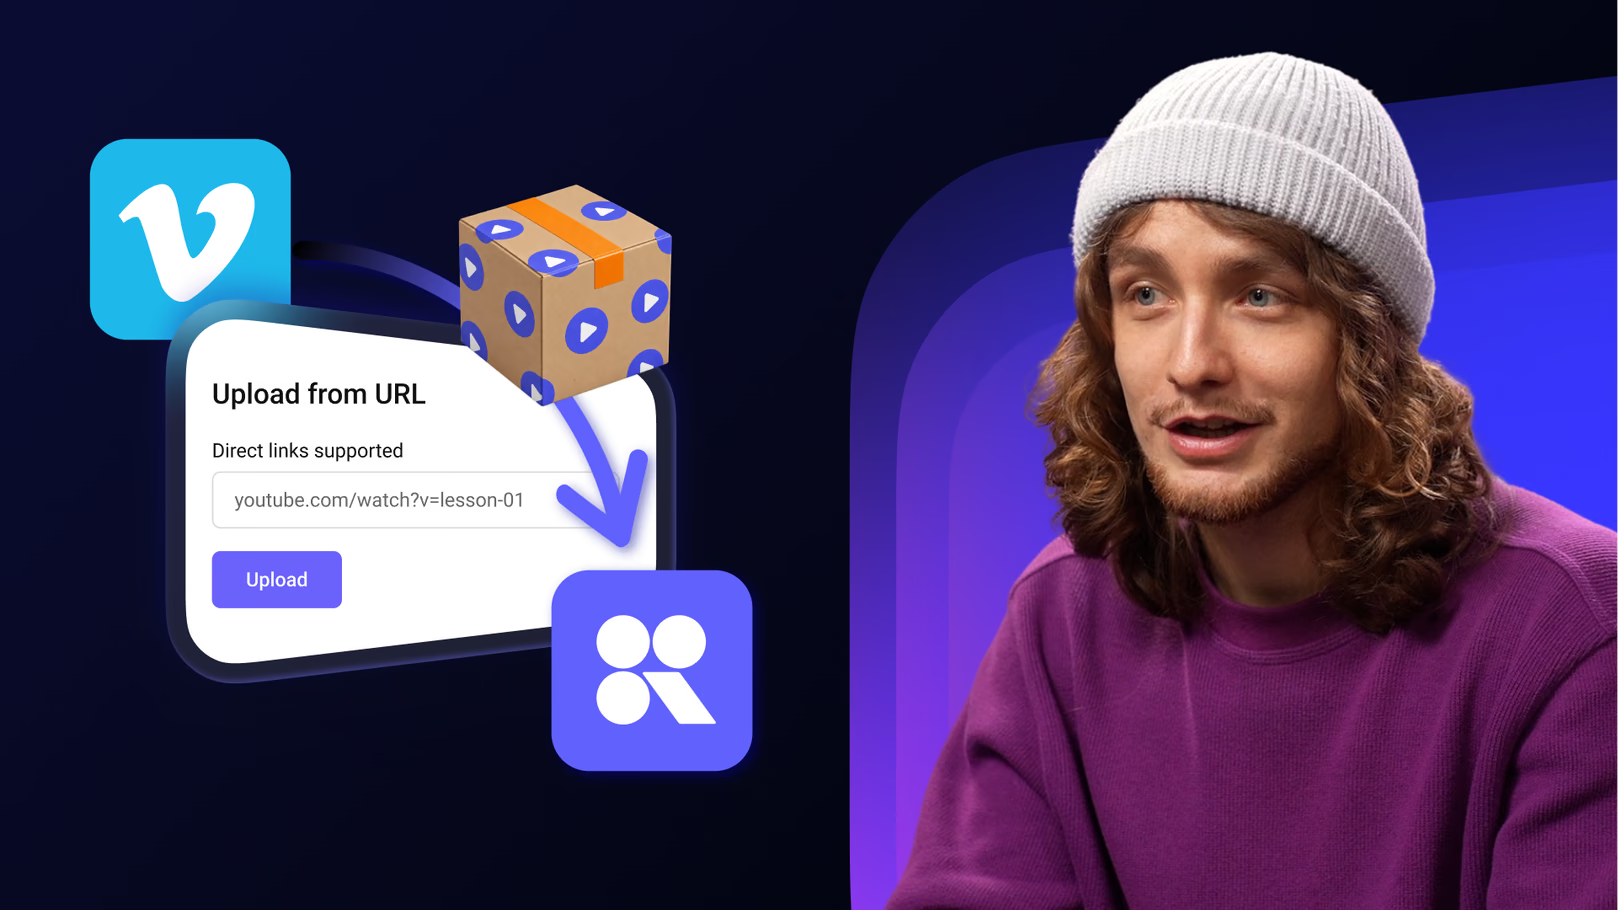
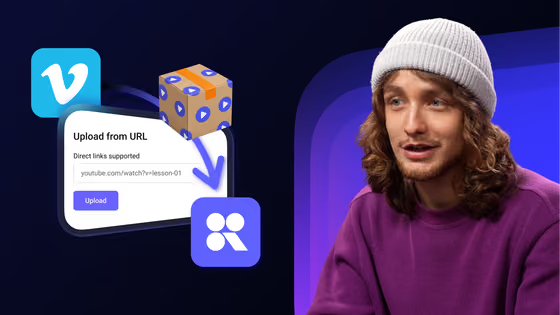
How to Move Videos from Vimeo to Kinescope
Create a Vimeo access token, connect the integration, and copy your videos to a project or folder in Kinescope.
If your video library is stored on Vimeo, there is no need to move it by hand. Kinescope transfers your entire media library through the ready-made integration. I'm Dima, and today we'll walk through how to do it step by step. Let's go! The integration works through the Vimeo API, so there is just one thing we need from you: a key with read-only permissions. A key like that can't change or delete anything in your account, and your originals stay right where they are. One thing you need to check up front: Vimeo only allows file downloads over API on the Standard plan and above. On Free and Starter, you can still create a key, but it won't have file permissions, and the integration won't work. Open the Vimeo developer dashboard at developer.vimeo.com and click "Create an app." Give the app any name you like and a short description. Of the two options, pick "No." "Yes" makes the app public, and we don't need that. Kinescope connects to Vimeo under your own account. Accept the terms and click "Create App." On the app page, go to the "Authentication" section and leave "Authenticated (you)" selected. In the "Scopes" list, check the read permissions: "Public," "Private," and "Video Files." Click "Generate" and copy the token. Done! You've got the key. Now let's head back to Kinescope. At Kinescope, click the Integrations icon in the left sidebar. Find the Vimeo card and open its settings window. Click "Connect." That opens the "Settings" tab. Paste the key into the "Vimeo API key" field. Tell Kinescope where to save the videos. Click "Choose" and pick the project or folder you need in the Catalog. Click "Save." Done! The integration is connected and copying has started. While the transfer runs, your video keeps working on Vimeo. There's no need to switch anything off in advance. And the files aren't just downloaded by Kinescope. They're reprocessed with optimal settings. That's it! You create a read-only key, paste it into integration, and move your library to Kinescope completely free. Enjoy that one and other features right now on every plan. See you on Kinescope! See you in the future!
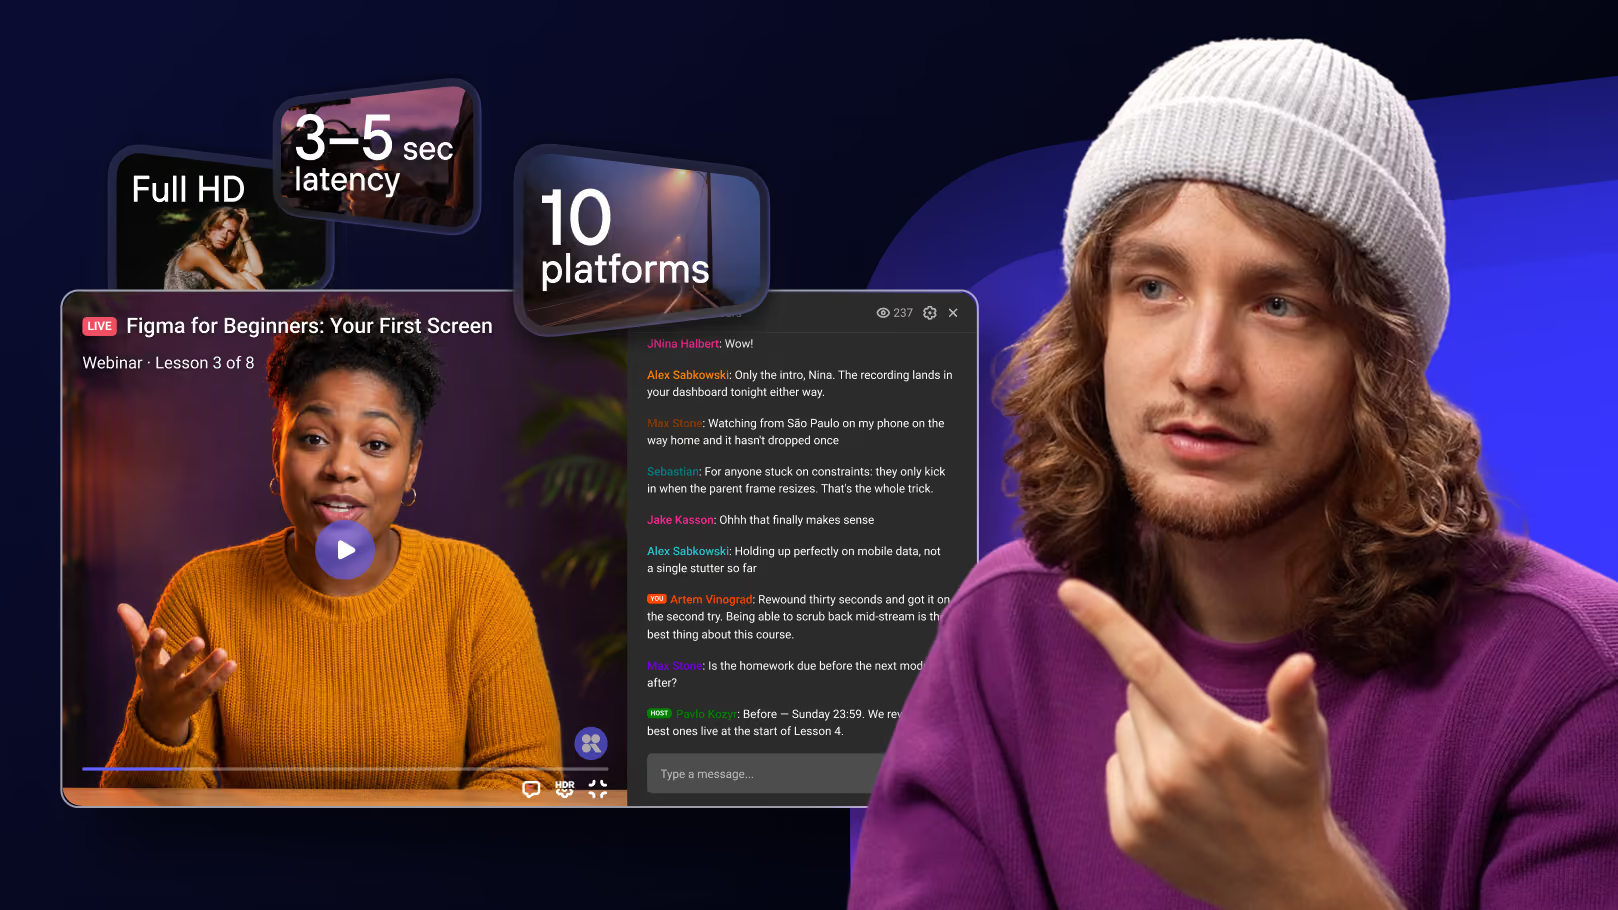
Kinescope Live Streaming: Full Product Overview
A hands-on walkthrough of running a live stream in Kinescope: from creating an event and chat settings to restreaming, banners, and embedding on your site.
Hi. If you're looking for a platform for webinars, streams, or live broadcasts where the stream runs reliably, records automatically, and embeds easily on your site, you've come to the right place. My name is Dima. In this video, I'll show you by example how Kinescope's live streaming platform handles these and a lot of other jobs in one place. If you're interested in specific features, click the chapters on the timeline and jump straight to the part you need. In your workspace, go to the Live section. Streams here are organized into projects, handy if you run broadcasts for different audiences or brands.
Click the plus next to the projects and create a new one. Give it a title, pick a default player if you need one, and set where it can be embedded. Click Create Project. Click the New button and choose the event type. One time, the live stream and its recording are available at the same link. Recurring, one permanent link for all future streams, each recording gets its own link. Give the event a name. It shows above the player when embedded. Check Save video after live stream, and the recording appears in the Catalog automatically as soon as the broadcast ends.
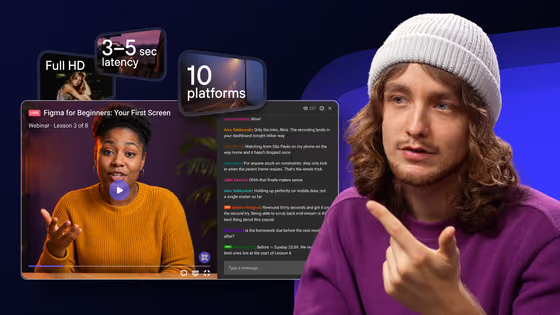
DVR lets viewers rewind the stream while it's still live without waiting for the recording. Turn on Autostart live broadcast, and the broadcast goes live the moment the signal arrives. In most cases, we don't recommend enabling it. The exception is a professionally produced stream where specialists have full control of everything before the signal reaches Kinescope. Standard broadcast delay, 10–12 seconds, works if you're not planning much interaction with viewers. The connection will be more stable. Reduced, 3–5 seconds, is best when you have good, stable internet connection and you'll be talking and working with your audience. Click Create Event.
The event is created and we land in its workspace, which has four sections. Settings is everything you configure before going live. Studio is your main screen during the broadcast. Analytics is the stats that build up afterwards. And Health Monitor is the feed itself, bitrate, FPS, and packet loss in real time with the metric history kept for the whole broadcast. Let's walk through each one, starting with the settings. The preview window on the right is always visible. Every change shows up there in real time. Set the event title. It appears over the thumbnail in the player.
If you like, add a subtitle, the topic, the speaker's name, or a short description. In the Thumbnail section, choose one of the ready-made covers or click Upload an image to add your own. The thumbnail shows in the player before the stream starts and after it ends. If you want to announce the broadcast in advance, turn on Schedule event and set the start date and time. Viewers who open the link early see a countdown timer. In the Privacy section, you set who can watch the stream and where the player can be shown.
By default, the broadcast is open to everyone and the player works on any site. If you need to restrict access by password, domain, or corporate account, we cover that in a separate video on content protection. In the Player section, pick a player template from the ones already set up in your account or create one right here with Create new player at the bottom of the Current player list. We cover everything the Kinescope player can do in a separate video. The Chat section holds several settings of how chat behaves. Show chat in the player's link.
Turn it on so chat is visible to viewers who open the stream via a direct link. Chat inside the player. Choose how chat appears in the embedded player. Do not show, show next to the video, or show only in full screen. Expand the chat on load. Turn it on if you want chat to open right away with no extra click. Hide users' links in chat protects against spam and unwanted external links. Participants see only their own messages. Each viewer sees only their own messages and the organizer's replies. Show members.
Turn it on so viewers can see how many people are on the stream. Unique usernames in the chat prevents confusion when several participants use the same nickname. Messages pre-moderation. Every message is held for a set time, during which a moderator can review it and delete it if needed. Slow mode limits how often a single viewer can send a message. Useful on live broadcasts so chat doesn't turn into a flood. The Additional section has two settings you already chose when creating the event. Here you can change them. Autostart live broadcast, the broadcast starts as soon as signal arrives with no preview stage.
And DVR lets viewers rewind the stream during live broadcast. In the Storage settings section, you manage the recording. Turn on Save video after live stream and choose the folder in the Catalog under Records storage location. That's where the recording lands automatically as soon as the broadcast ends. And last, Streaming settings, RTMP. This repeats the RTMP URL, the stream key, and the merged link for mobile apps. Let's go to the Studio. This is the main control screen during the broadcast. Inside there are three tabs, Chat, Restreaming, and Banners.
In the center of the Studio, you immediately see the connection details, the RTMP URL and the stream key. You'll need both when you connect your signal source. In this demo, we won't go into video encoder settings. We have separate video guides with step-by-step setup. I'll just connect the feed and we'll keep moving through the sections. The video encoder is connected and the feed is coming in. To start the broadcast for viewers, click Go live, and you're live. On the left of the Studio is the chat panel, with two tabs. The first one, Public, is the chat itself.
You see viewers' messages in real time and moderate them. The second tab is Members, everyone currently on the stream split into Live hosts and Viewers. After the broadcast ends, the chat is saved in sync with the recording. When you play the video back, you see what the audience wrote at every moment of the stream. If it matters to reach your audience on several platforms at once, use restreaming. Open the Restreaming tab in Studio and click Add Channel. Give the channel a name, paste the platform's RTMP URL and stream key, and click Add Channel. Done.
Add as many platforms as you need: YouTube Live, Twitch, Facebook Live, Vimeo Live Stream, or any other service that supports RTMP. You can connect up to 10 restreaming channels at once. The third Studio tab is Banners. These are clickable elements that appear over the player right during the broadcast. Click New Banner, the setup form opens. Horizontal works for wide banners at the bottom or top of the screen. Vertical is for a compact format on the side. Then, set the banner's position on screen. Pick it from the dropdown. Title is the banner's main text.
Description is an optional second line, up to 60 characters. In the URL field, enter the link the viewer goes to when they click the banner. Button. Turn it on if you want to add a button on the banner. Display duration, how long the banner stays visible to viewers. With a limited duration, the banner shows a countdown. Banner color theme sets the background color. Text color comes in two options, white or black. Button color is picked from a palette, and button text color is white or black as well. And last, image.
Click Upload Image and add an illustration or logo so the banner looks more eye-catching and recognizable. A banner can only be turned on after the stream has started, and only one banner can be active at a time. Important, banners aren't shown in a stream recording. They work only during the live broadcast. You can put the stream on any platform right from here. In the upper right corner of the page, there are two buttons, Link and Embed. If it doesn't have to run on your own site, use the direct stream link. It opens an optimized webpage with the player and chat.
You can style the page for your brand by adding a logo and a link to your site. And if you want to run the stream on your own site, copy the embed code and place it on the page. The player embeds right there with no jump to a third-party page. Want a chat next to it? Copy the separate chat code and drop it into the neighboring block. Viewers watch the stream and talk without leaving your page. After a broadcast, open the Analytics section. Viewer count in real time, peak viewing moments, audience geography, and traffic sources.
That's enough data to judge how the broadcast went and to see what to improve next time. Meanwhile, the recording is already in the Catalog ready to watch, edit, and publish right after the broadcast ends. To find it, go to the Catalog section and open the project and folder you set in the storage settings when you created the event. The recording is already there. Open it, and from there, you work with it like any other video. Edit it, set up access, add subtitles and chapters, embed it on your site, or send the link to viewers who missed the broadcast. Try it now.
The free account gives you 20 minutes of Full HD streaming, up to 20 viewers, and restreaming to 2 platforms, all with no credit card required. And with promo code LIVE, new customers get 30 days of Super plan, unlimited Full HD streams, restreaming to 10 platforms, and an unlimited number of team members. Test it free for a whole month. And if you need an enterprise plan, message us in chat or submit a request. We'll put together a package tailored to your needs. That's all. Thanks for watching. See you on Kinescope. See you in the future.
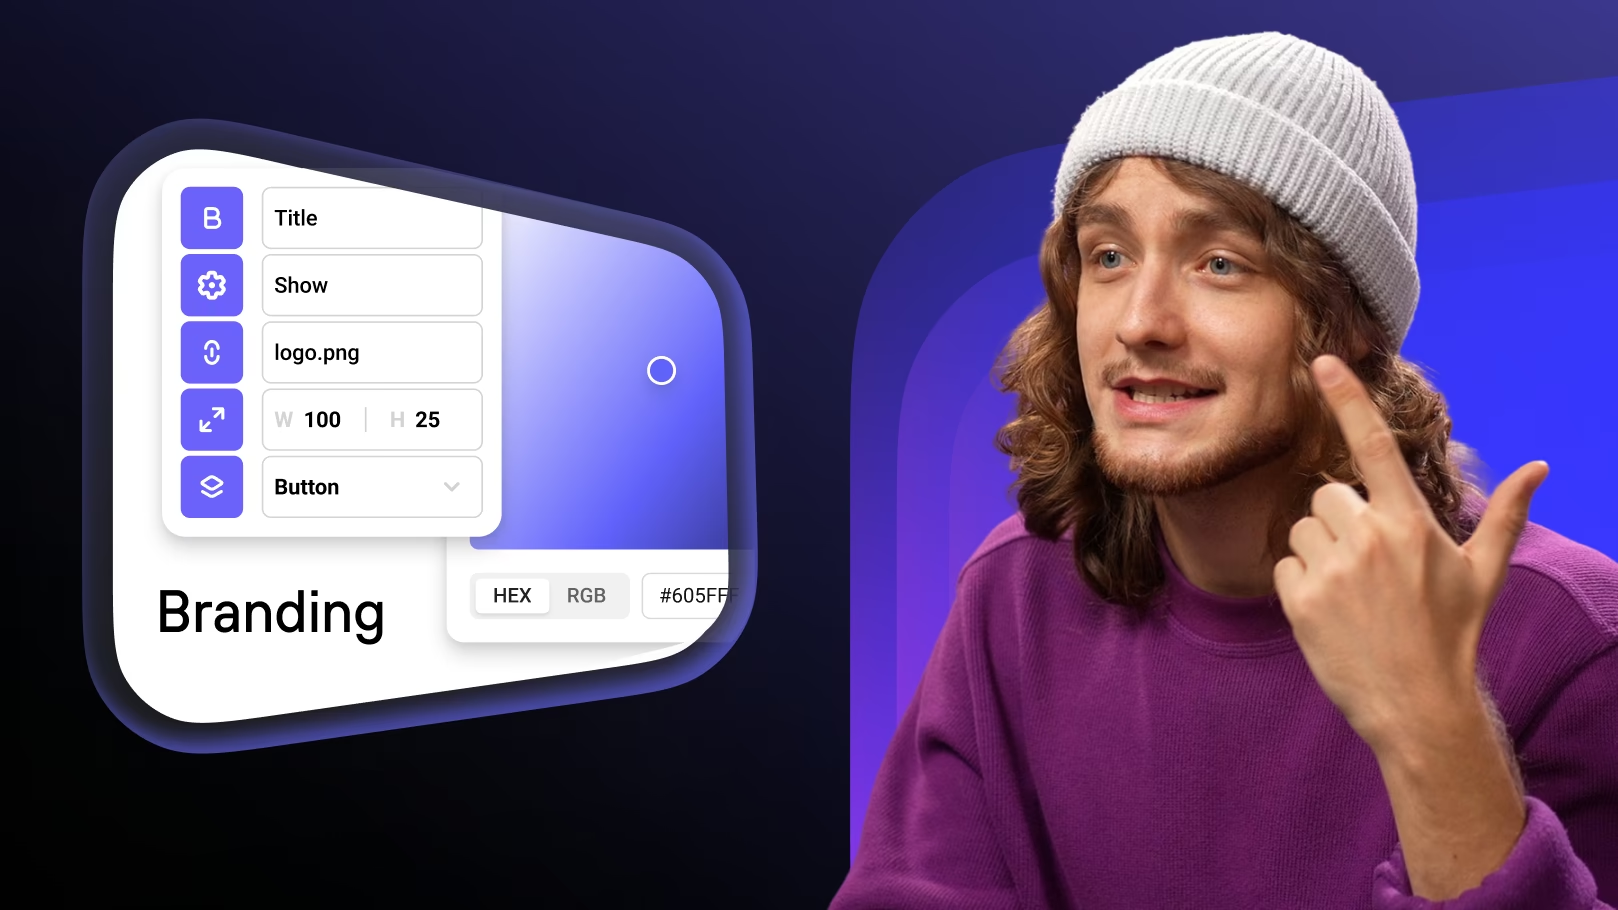
How to Brand Your Video in Kinescope
Want viewers to see your brand instead of Kinescope? This video shows how to brand both the video itself and the page where people watch it.
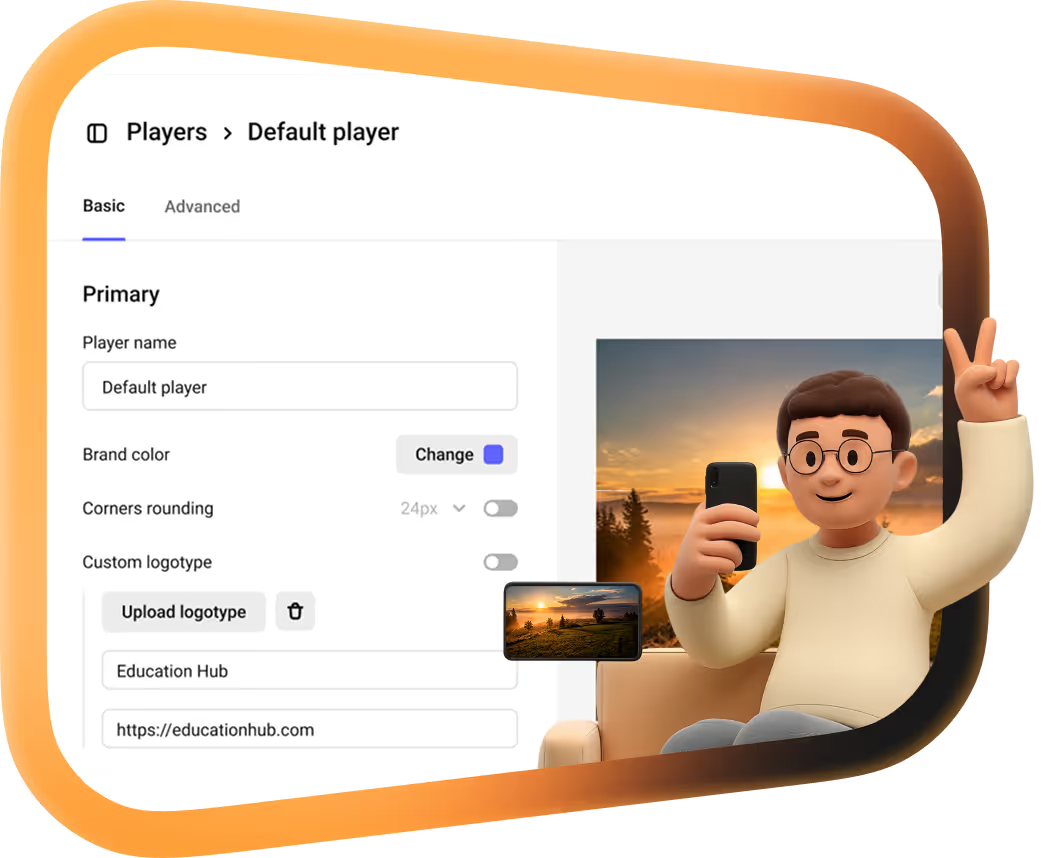
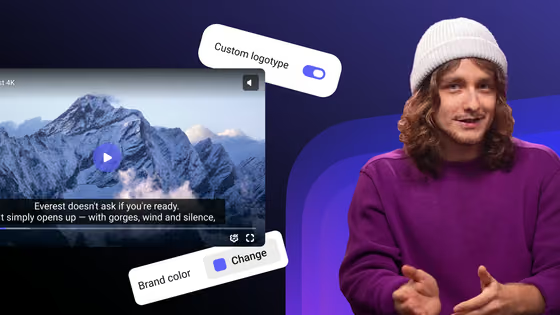
Hi, I'm Dima, and today we'll brand both the video and the page your viewers watch it on, so everyone who opens your videos sees only your own branding, with no trace of Kinescope. Let's go! Let's start with the video itself. Its branding is handled by the player template, which is applied to the video and sets how it looks. Go to Settings, Players, and open the template you need, or create a new one. Pick your brand color. It tints the play button, the progress bar, and the control panel in your brand colors.
Round the corners if your brand uses rounded shapes, or square them off instead. Add a logo with Custom Logotype, make it clickable, and set the link the viewer goes to when they click it. Save the template. Now apply the template to a finished video. In the catalog, double-click the video's title. Go to the General tab. In the Player section, open the current player list and pick the template you just set up. Done! The template is applied to that video right away. If you like, right here you can upload a brand new thumbnail, and add subtitles and chapters with AI.
So that, before pressing play, the viewer already knows what the video is about and can navigate it easily. Everything is added in a couple of clicks. The video is styled. Now let's style the video's viewing page — the page your viewer is watching on. Go to Settings, the Branding section. Under Logo click Upload. It replaces the Kinescope logo on video and livestream watch pages. Add a link to your website and the logo becomes clickable. Right there you can also set a default live poster for future livestreams. Done! Let's see how the page with our video looks now.
Open the video and click preview. This is how the viewer sees it now. Your color, your logo and no trace of Kinescope. Send the video to a client, a partner or a colleague and they will open a fully branded file. That's it! Enjoy the full set of features right now on every plan. See you on Kinescope. See you in the future.
CTA Button in Video: How to Collect Leads from Views
How do you turn a video view into a real lead, not just a number in your stats? This video shows how to set up a call-to-action (CTA) button in Kinescope.
Hi! A view in your stats is nice. A real lead is better. And that's exactly what a call-to-action button gets you. I'm Dima. Let me show you how to set one up in Kinescope. Let's go! Showing the CTA button is enabled at the player template level. Open Players in the dashboard and pick the template applied to the videos you need. You can also open the player from the video settings. Drill into the video, find the player section and click customize player. On the player's Basic tab, find the end screen setting.
There are four options there. Rewatch, reset to the thumbnail, loop or call to action. Choose call to action. Set a title, a short description and the button link to a website, a course page, a lead form or a lead magnet. Save the template. Done! As soon as the video ends, your call to action screen appears over the player. And, if you need to tie the CTA button not to the end of the video, but to a specific moment or a pause, that flexibility is set up through the iFrame Player API. In your workspace, hover over the avatar and click Knowledge Base.
Find the developer guides, then iFrame Player API, and find the Call to Action section. Setting up this feature takes a developer. Using this article, they can configure any of the options, the title, description, button text, and the destination link, the display moment, at the end of the video or playlist, at a specific second or during pause, and closing the CTA screen right from the code with a separate command. Also, every click on the button generates a separate event that you can catch in code and send to your CRM or analytics system. That way, the lead won't be lost between the view and the first contact from your manager.
That's it! The call-to-action button turns the view into a step in your sales funnel. Simple cases just need the player template, and for complex ones, there is full control via the API. Enjoy the full set of features right now on every plan. See you on Kinescope. See you in the future.
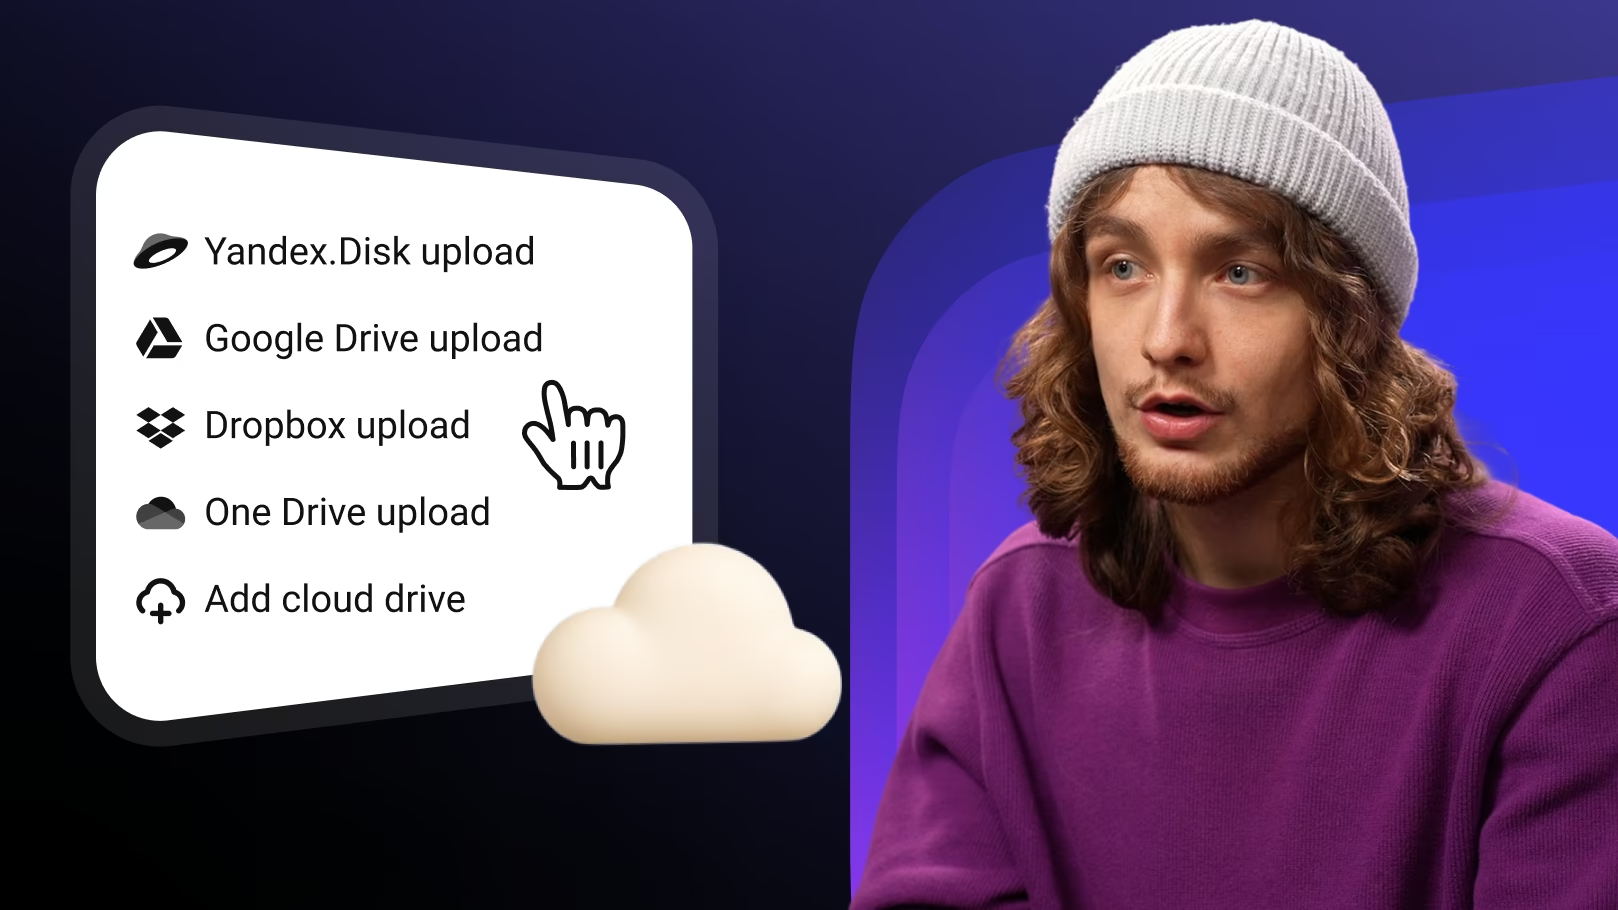
How to Move Videos from Cloud Storage to Kinescope
Are your videos on Google Drive, Yandex Disk, or Dropbox? We show how to connect a cloud drive and move your videos to Kinescope directly, without downloading them to your computer.
If your videos live on Google Drive, Yandex.Disk or Dropbox, you don't need to download them to your computer, just upload them to Kinescope directly. I'm Dima and today I'll show you how to connect a cloud drive and move videos straight into your catalog. In the catalog, choose New Add Cloud Drive. Pick the service you need. Kinescope supports Google Drive, Yandex.Disk, and Dropbox. The set of available services may differ depending on your region. Sign in to the service you chose. Once it's connected, open New again and select the item with your drive's name.
For example, Google Drive upload. In the window that opens, select one or several files. And if you need to move a lot of videos at once, you can pick the whole folder with its contents. Click Upload. Done. The files are added to Kinescope straight from the cloud storage, not from your computer. In the same window, you can just as easily disconnect the link if you no longer need it. That's handy if your team switches tools, or different members work with different storage services. And that's it. Connect the cloud storage once, and after that, upload the videos from it in a couple of clicks.
No downloading to your computer. Enjoy the full functionality right now on every plan. See you on Kinescope! See you in the future!
How to Move Videos from YouTube to Kinescope
Built up a library of videos on YouTube? This video shows how to move them to Kinescope directly — without downloading the files to your computer.
Hi! If you've built up a library of videos on YouTube, you can move them to Kinescope directly without downloading the files to your computer. I'm Dima and today I'll show you how to move a single video or even an entire YouTube channel to Kinescope in a couple of clicks. Let's go! If you need to move one, two or a few videos, a simple upload by link right from the catalog does the job. In the catalog, click New Upload via URL. Paste the YouTube video link and click Upload. If there are several videos, you can paste up to 50 links at once, separated by a comma, a space or a new line.
Done. Kinescope pulls the video at maximum quality with sound and along with it the poster and the chapters. One note, this method only works with videos that are publicly available. To download private videos, you need to set up the integration. Let's do that. Go to Settings, Integrations, find the YouTube card and click Connect. On the Settings tab, click Sign in with Google and choose the account the channel is linked to. Under Where to save my videos in Kinescope, click Choose and pick the project or folder in Catalog. Choose what to move, download all previously uploaded videos, download videos only available at the link or do not download, to just connect the account for now.
Click Save. Done. The integration is connected. And at any time, you can disconnect it with Uninstall or add another account with Add account. And that's it. Enjoy the full functionality right now on every plan. See you on Kinescope. See you in the future.
How to Share a Video Link in Kinescope
Need to quickly send a video to a colleague or client? This video shows how to share a video via a direct link in a couple of clicks — without embedding.
If you need to quickly send a video to a colleague or client, in Kinescope you can share it via a direct link. I'm Dima, and I'll show you how to do it in a couple of clicks. Let's go! Open the video in the catalog by double-clicking its title. In the top right corner, click Link and Copy. The link is ready. It opens the video on a separate web page optimized for any device. You can also copy the direct link to a video right in the catalog. Hover over the video in the catalog and click the three dots, or just right-click, and choose Copy Link.
Done. The video is ready to share. And if you need to share several videos in order, say a course or a collection of webinars, that's what playlists are for. Build the videos into a playlist. Select several videos and combine them with a right-click. Add to playlist. Or do the same with a whole folder. Right-click, add to playlist. You can copy a playlist link the same way as a video link. Right-click the playlist and copy the link. The watch page will contain the player and the links to all the videos in the playlist.
You'll be able to move between them easily while watching. That's it. Enjoy the full set of features right now on every plan. See you on Kinescope. See you in the future.
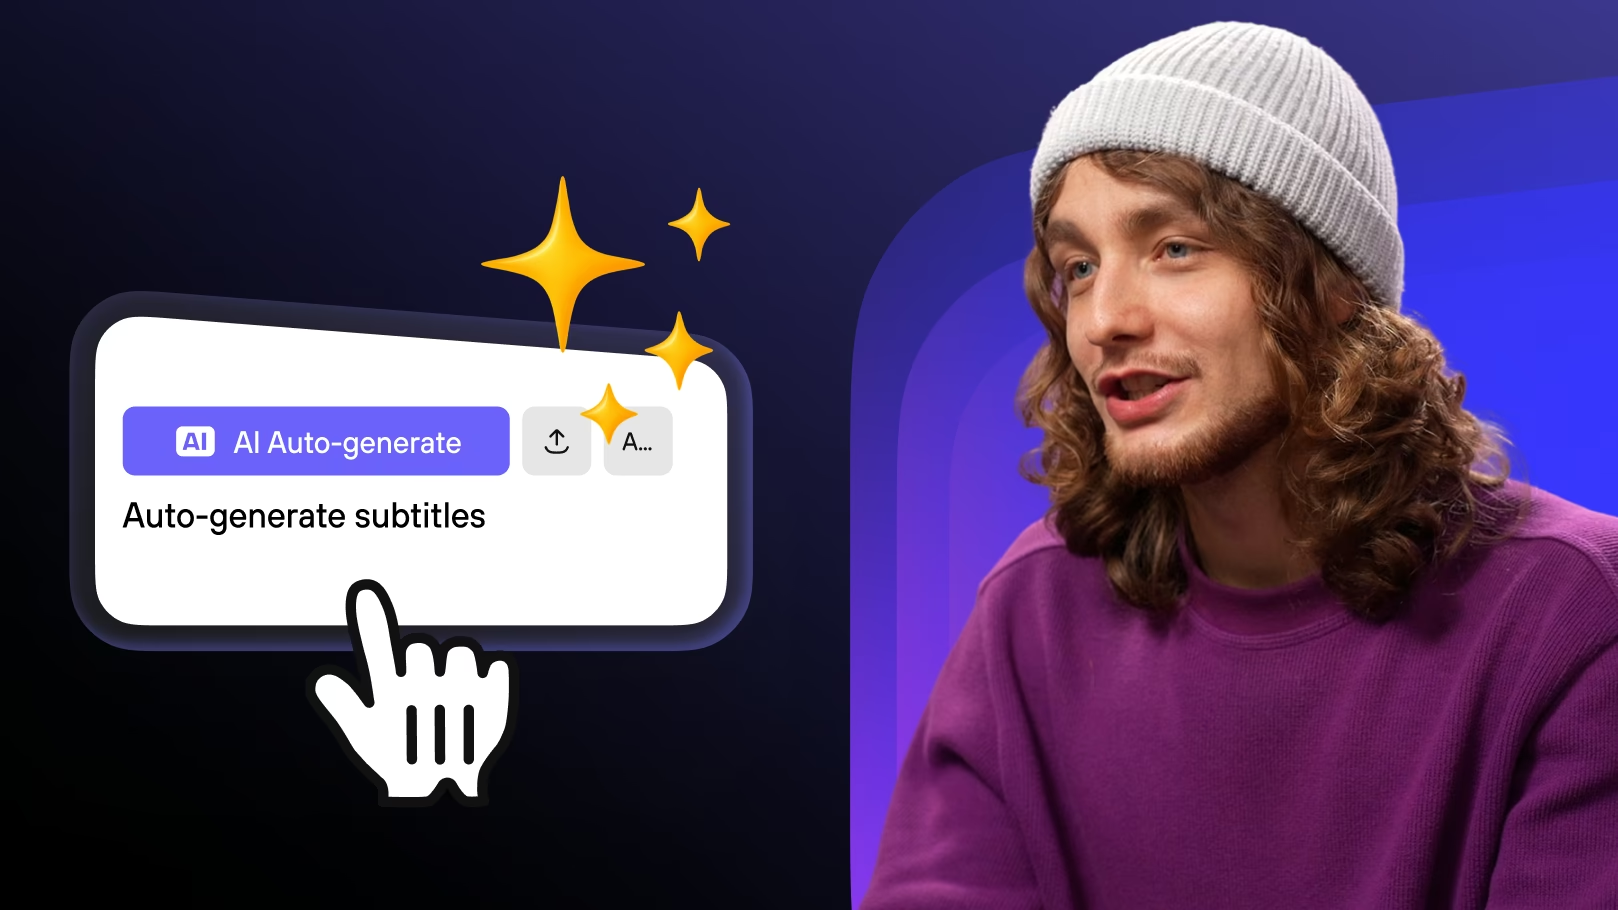
How to Create AI Subtitles for Video in Kinescope
How do you make subtitles for a video in a couple of minutes? This video shows how Kinescope automatically generates subtitles with AI and how to download the finished transcript file.
Hi, I'm Dima, and today I'll show you how to create subtitles in Kinescope with AI, and how to download the ready transcript file. Let's go! Open the video in the catalog by double-clicking its title. And go to the Captions tab. Start auto-generation with the AI auto-generate button. You can get two tracks at once, in the original language and in English. Done. After generation, the subtitle track appears in the list. Check the text and, if needed, fix it right in the interface. Turn on the toggle and click Save. You can also download the ready subtitles, for example, to make a video summary by feeding the transcript to your AI assistant.
In the video settings, go to the Files tab. There are two sections there – Subtitles and Transcripts. Subtitles hold files with timecodes synced to a video, ready to show in a player or another video editor. Transcripts hold a plain text file in TXT format, the same content but without timecodes. Find the file and the language you need. Hover over the row and click Download. If you need the file for a player or for editing, take the subtitles. And if you just need the video's text for an article, notes or hand-off to AI, take the transcript.
That's it. Subtitles are created automatically, edited right in the interface and downloaded in a couple of clicks. Enjoy the full set of features right now on every plan. See you on Kinescope. See you in the future.
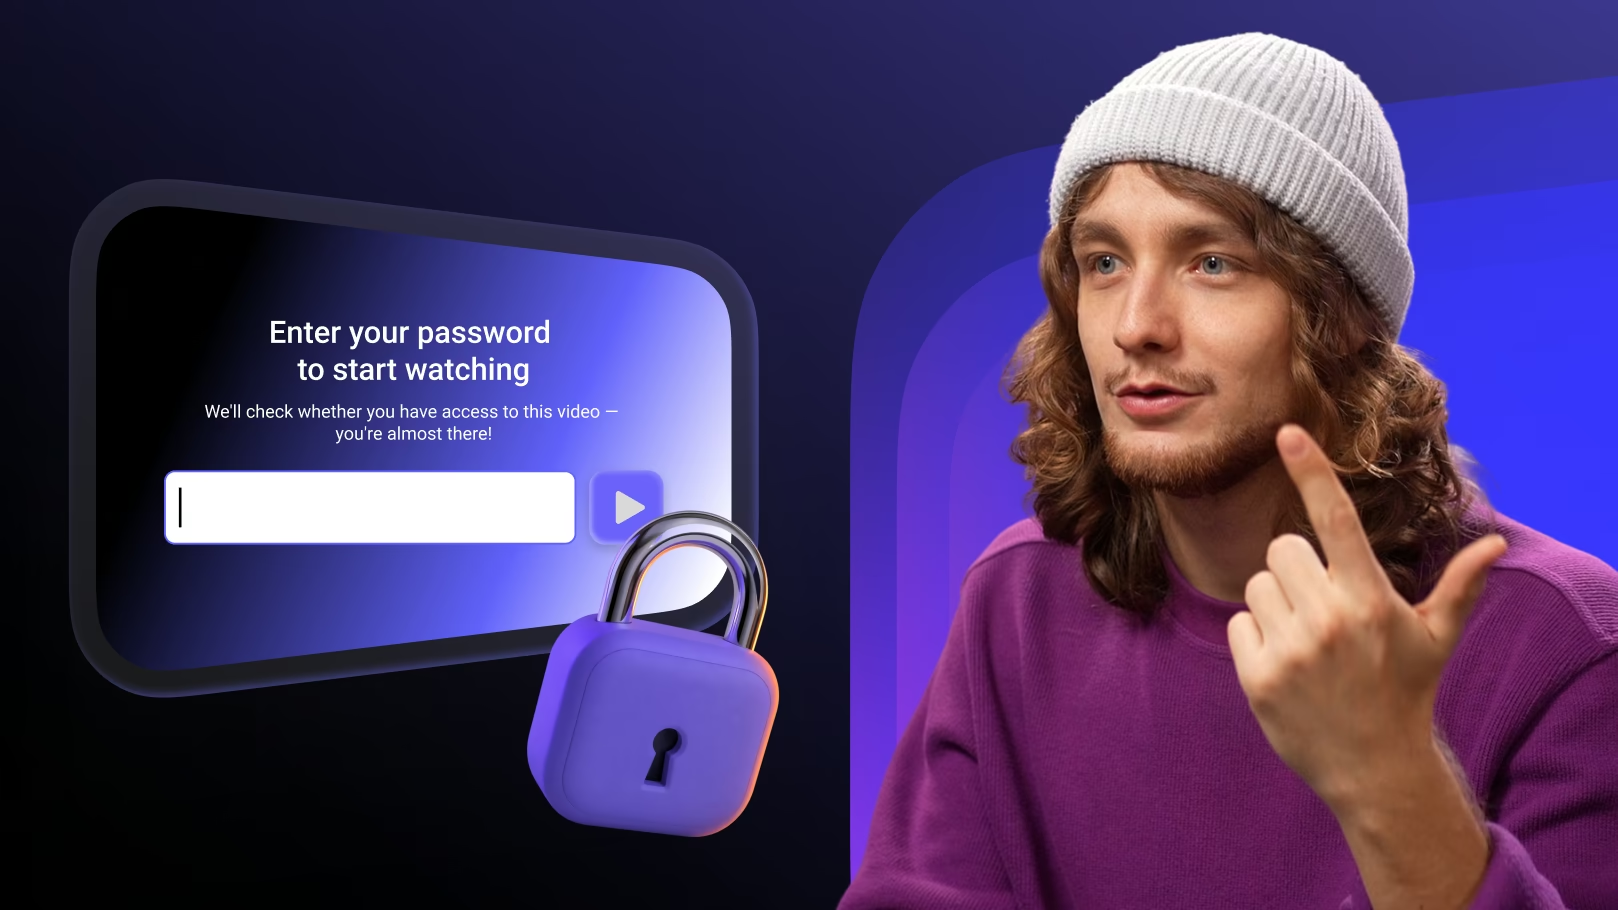
Video Access Restrictions: 5 Ways to Protect Your Video
Want to keep your videos away from prying eyes? This video shows how to protect access at the video level in Kinescope: 5 ways to restrict who can watch a video.
Hi, my name is Dima, and in this video we'll cover one of the Kinescope's video protection features – access protection at the video level. This setting lets you restrict access to a video by private link, password, or work email, or allow embedding only on specific domains. Now, let's turn it on and go through each section step by step. Open the settings for the video. Go to the Privacy section. Find the Who can watch block. Access by private link is best when you need to share a video with a limited circle of people.
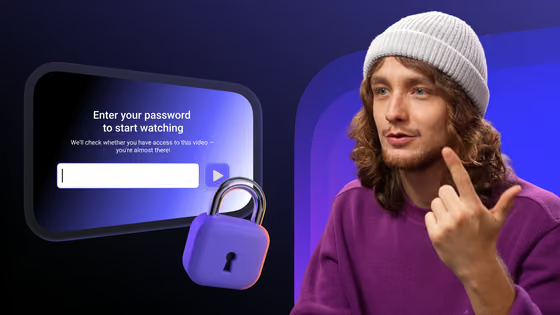
Select Users with a private link. Click Save and the Copy icon. If you need to refresh the link, click the Refresh icon to the right of it. Don't use private links to embed videos on external sites. The setting will stop working, and the video won't be protected. Access by password is good for closed webinars and internal materials. Select users with a password, enter the password in the field that appears, and click Save. With this setting, when the viewers open the video, they'll see an entry form before playback begins. Unique codes are handy for paid webinars and one-off sales of recordings.
Select users with unique codes. Click Manage codes, then Generate codes. Fill in the parameters. Name. This is the label for your own records. Viewers won't see it. The number of codes can be anywhere from 1 to 9,999. You can let several viewers use one code, from 1 to 100. Optionally set an expiration date, after which the codes will stop working. Click Generate, and the set appears in the manager. Select the set you created and click Download. The downloaded file has two columns, code, the access code itself, and activation date, the date of first use, empty if the code hasn't been activated yet.
To delete a set, select it in the manager, click Delete and confirm. Once deleted, all codes stop working, and this cannot be undone. Access by work email is for corporate or educational content, when only employees or students with email addresses on approved domain should watch. Enter a corporate domain, for example, kinescope.io, confirm it and click Save. Here's how it works for a viewer. They open the link, enter the work email in a form, get a message with a code, enter a code and watch the video. The domain restriction is needed when a video is embedded on an LMS platform, a user account, or a closed section of a site.
The player loads only on addresses you explicitly allowed. Even if someone copies the video's embedded code, it simply won't open on another page. In the same Privacy section, find Embedding Policy. Select on specific domains, click Add domain. Enter the site address in the text field. Click Add or click Create new domain. If the domain is already in the system, it appears in the suggestion list. Pick it from here. Repeat this for each domain you need. To allow embedding on all subdomains, add the third-level domain to the list. For kinescope.io, for example, it's *.kinescope.io.
Click Add. Click Save. To remove a domain from the list, click the cross next to its name. If you have several domains and want to manage them not for just one video, but for the whole workspace, open the Domain Manager. There are two ways in. Through the Domains window in the File Settings and through the Settings section in the Dashboard. To add a new domain, click New Domain, enter a name and click Add. To edit one, click the Edit domain icon, make your changes and click Save. The changes apply automatically to every video tied to this domain.
If a domain no longer needed, click the trash icon next to it and choose Archive or Delete. Confirm. An archived domain can be restored on the Archive tab. Both archiving and deleting unlink the domain from every connected video. The videos stay, but the domain restrictions stop working. Done. Access settings at the video level are applied. Your video is protected. That's it. For ways to protect content at the player and file level, see this collection and our knowledge base. Thanks for watching! See you on Kinescope! See you in the future!
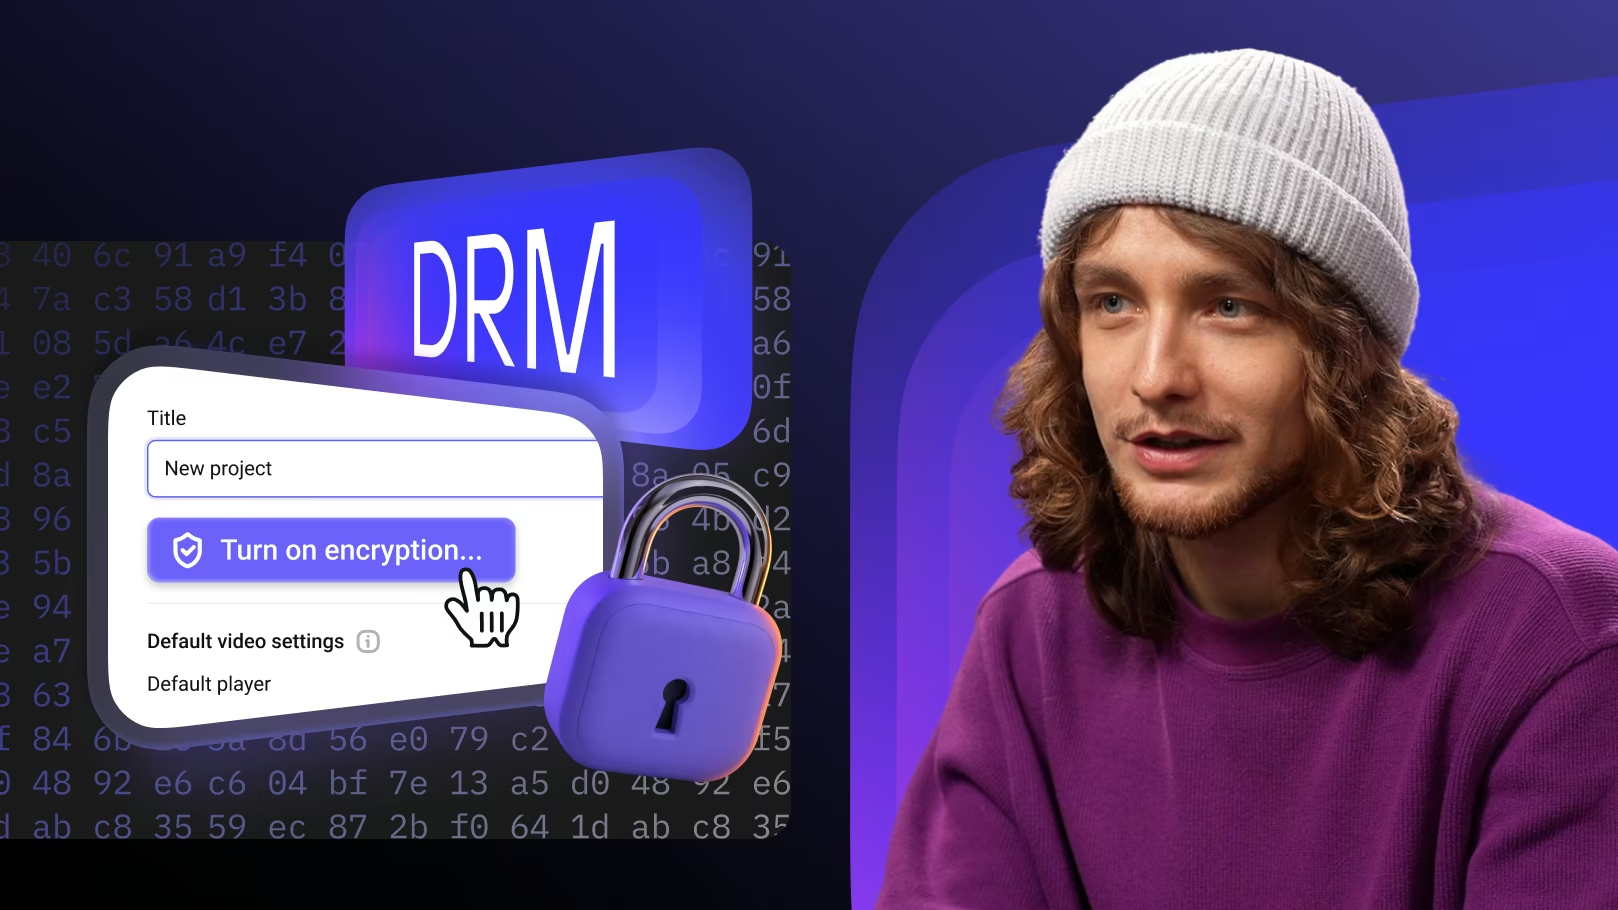
DRM Encryption: Maximum Video File Protection
How do you protect a video from downloading, stream interception, and screen recording? This video breaks down DRM encryption in Kinescope — the highest level of protection for a video file.
Hi, I'm Dima. In this video, we'll cover one of the Kinescope video protection features – DRM encryption. It's the maximum level of file protection. The video can't be downloaded, the stream can't be captured, and the screen can't be recorded. But it also comes with a few limits to keep in mind first. In this video, we'll go through it all. Let's go! Unlike a password, which controls who watches the video, DRM controls what can be done with the file. It's stored encrypted. To play it, the players request a temporary key from the license server, a new one each session.
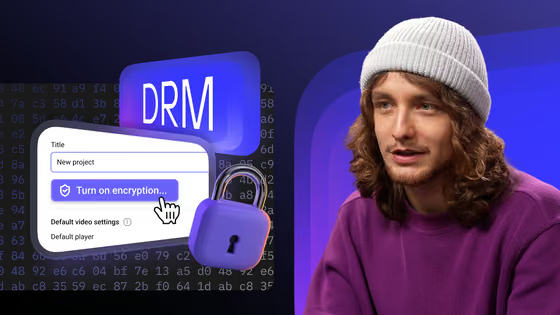
Decryption is handled by the device's built-in DRM modules, Widevine in Chrome and Android, Fairplay in Safari and iOS. Before you turn it on, check three requirements. First, your site needs an SSL certificate. DRM only works over HTTPS. Second, if the video is already embedded, make sure the embed code includes encrypted media in the allow attribute. Without it, encrypted videos won't play. And third, the video you want to protect must be in a separate Kinescope project. DRM encryption is enabled only at the project level. Now, let's turn on DRM in your Kinescope account.
In the catalog, click the three dots next to the project name. In the context menu, select Project Settings. Click Turn on encryption. Read the conditions carefully, so the feature works correctly. If all looks good, confirm the action. Once confirmed, encryption starts automatically for every video in the project. It usually takes less than a day, and your videos stay available to watch throughout. Once it's on, keep three important things in mind. First, you can't turn encryption off yourself. That's only possible through a request to technical support. Second, after that, in the dashboard you can only download the original video.
Renditions and the other qualities won't be available via direct links. Third, for maximum protection, DRM doesn't work in Firefox ESR, UC Browser and Firefox on Android, or Chrome Incognito mode on Android. All said, DRM encryption is on, your files are fully protected. That's it! For more ways to protect content with access controls and watermarks over the player, see this collection and our knowledge base. Thanks for watching! See you on Kinescope! See you in the future!
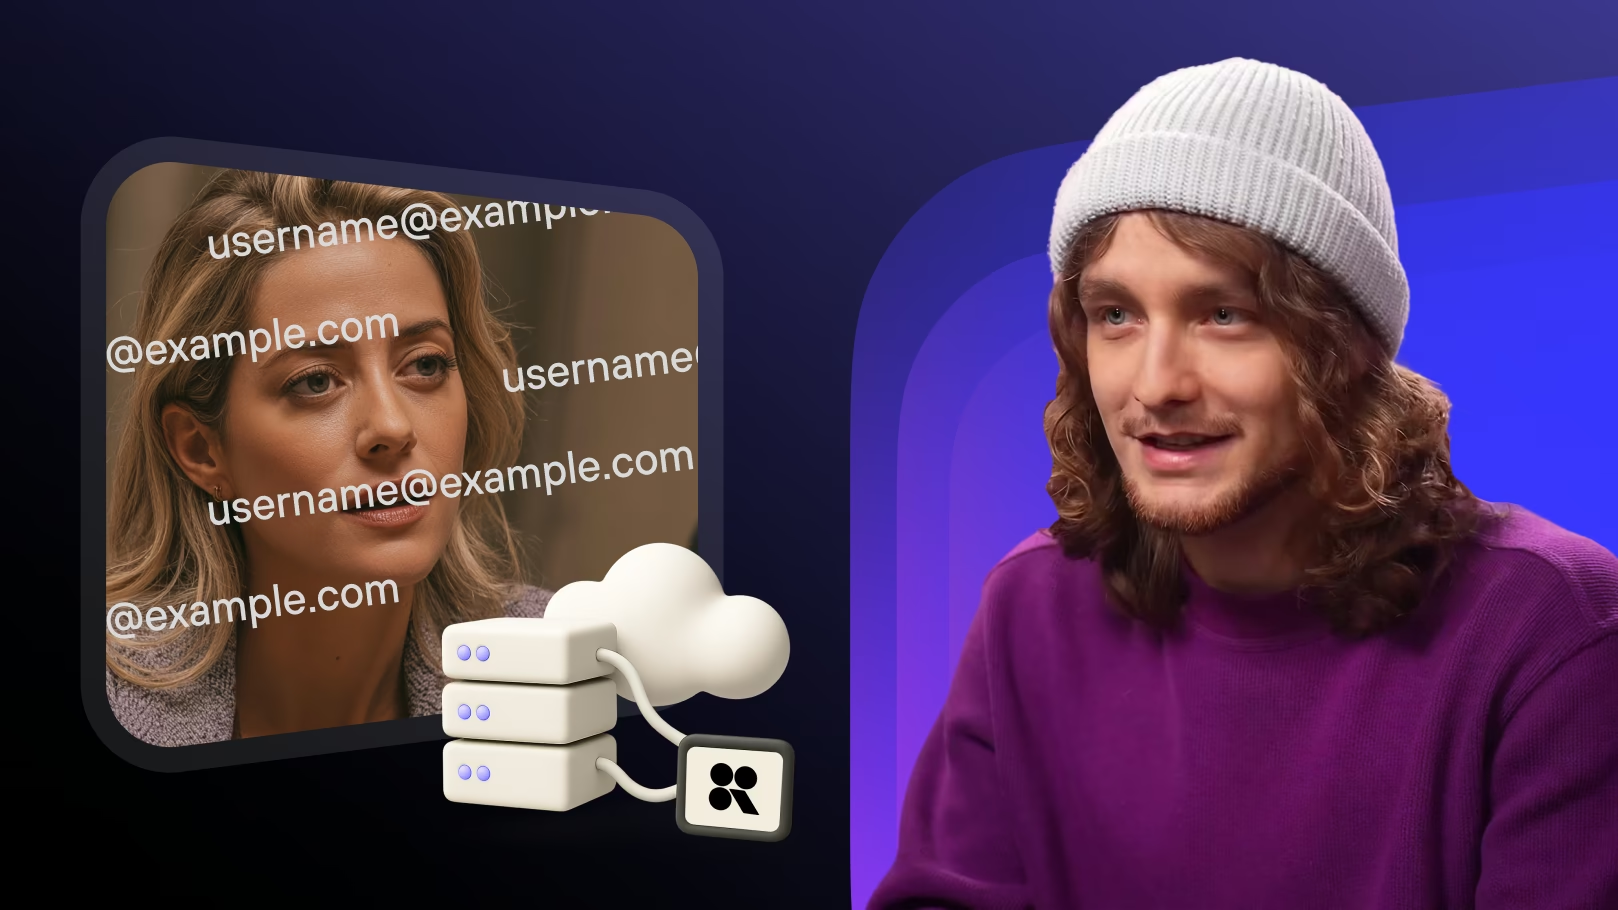
Video Watermarks: Logo, Text & Viewer Marks
Want to protect your video from copying and leaks? This video shows how to set up watermarks in Kinescope: a logo overlay, a static text watermark, and a dynamic mark with viewer data to trace leaks.
Hi, I'm Dima. In this video, we'll cover one of the Kinescope's content protection features – watermarks over the player. There are three kinds in Kinescope – a logo in the player's corner, static and dynamic watermarks. In this video, we'll set them up step by step in the workspace. Let's go! A logo is an image shown on screen the whole time the video plays. Go to Players, then Player Templates. Open the template you want to edit. On the Primary tab, find Custom Logotype and turn on the toggle. Click Choose Logotype, upload an image and add a title and a link if you need them.
Click Save. The logo appears neatly in the bottom right corner of the video, but this format won't protect your video if someone downloads it and scales it up until the logo slips off the edges of the screen. For that, we move to the next level. A static watermark is text over the video that permanently covers the entire frame. To turn it on, in the player template, go to the Advanced tab. Find the Watermark section and turn on Enable Watermark. Enter the text, a company name, a website, the author's handle, whatever you like.
Choose how it's placed on screen. With Random, the text shows up in different spots at a set interval. With Stripes, the text covers the video so it stays visible in any part of the screen. Then set the size, display frequency, opacity, and style. Click Save. Check the result in the preview window on the right. A dynamic watermark is for cases where you need to pinpoint a source of a leak. If a recording ends up online, the mark shows right away who leaked it. In practice, people know this, which also makes them far less inclined to leak the content in the first place.
This setup takes some backend know-how, so we recommend bringing in your developer or our support team. In the player template, go to Advanced tab, find the Watermark section and turn on Enable Watermark. Next, go to the video that uses the player template and copy the standard embed code. In the embed code, add a watermark parameter with a variable that will hold the user's data, for example, watermark user's data. On your server, in your CMS or LMS, set up passing the data into a variable, the user's email or ID. Place the code on your platform.
Now, every viewer sees their own data over the video. The mark appears at random in different parts of the screen and doesn't disappear on pause or seek. Done! The watermarks are added and working to protect your videos. That's it! For ways to protect content through video access controls and file encryption, see this collection and our knowledge base. See you on Kinescope! See you in the future!
Complete Video Protection: 3 Kinescope Tools
How do you protect a video completely — from random viewers, copying, and downloading? This video brings together all three of Kinescope's protection layers in one place.
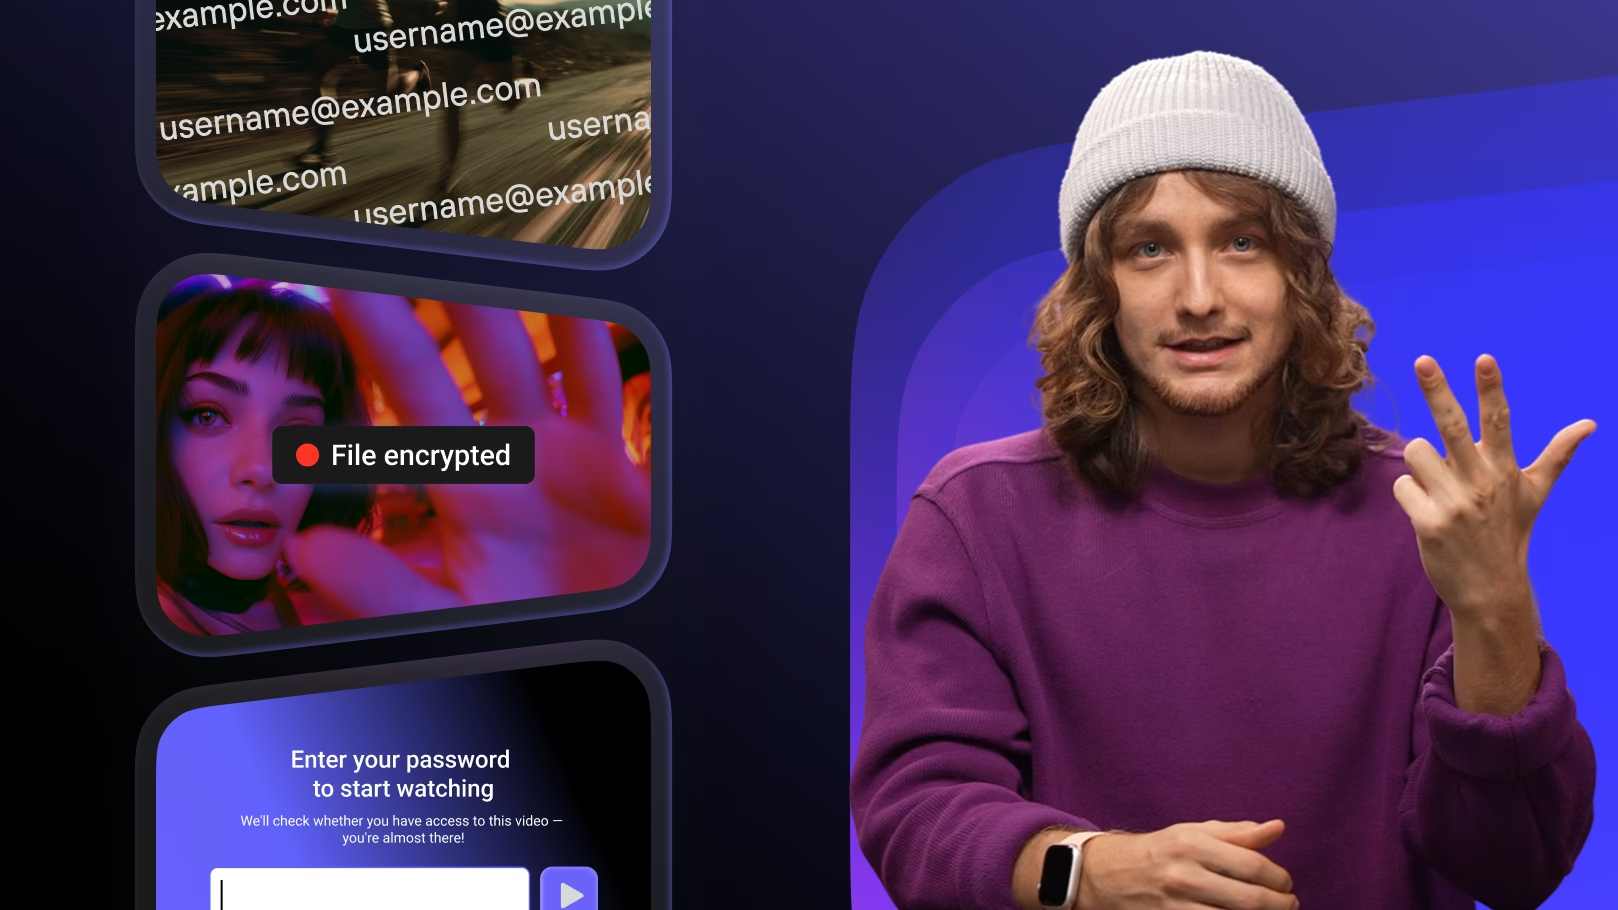
Hi, I'm Dima. Kinescope has several levels of video protection, and in this video we'll cover them all at once. This video is handy when you want to set up full protection in one pass or figure out which tool fits your scenario. If you're interested in a specific protection tool, click a chapter on the timeline to jump straight to the part you need. DRM encryption protects the video at the file level. The video is stored encrypted and plays only through a licensed player. The feature is available to all users on paid plans.
Let's head to the settings. Before you turn it on, check three requirements. First, your site needs an SSL certificate. DRM only works over HTTPS. Second, if the video is already embedded, make sure the embed code includes encrypted media in the allow attribute. Without it, encrypted videos won't play. And third, the video you want to protect must be in a separate Kinescope project. DRM encryption is enabled only at the project level. Now let's turn on DRM in your Kinescope account. In the catalog, click the three dots next to the project name.
In the context menu, select project settings. Click Turn on encryption. Read the conditions carefully, so the feature works correctly. If all looks good, confirm the action. Once confirmed, encryption starts automatically for every video in the project. It usually takes less than a day, and your videos stay available to watch throughout. Once it's on, keep three important things in mind. First, you can't turn encryption off yourself. That's only possible through a request to technical support. Second, after that, in the dashboard you can only download the original video. Renditions and the other qualities won't be available via direct links.
Third, for maximum protection, DRM doesn't work in Firefox ESR, UC Browser and Firefox on Android, or Chrome Incognito mode on Android. Access restrictions decide who can even open your video. Choose one of the five options – private link, password, unique codes, work email, or embedding only on allowed domains. Now, let's turn it on and go through each section step by step. Open the settings for the video. Go to the Privacy section. Find the Who can watch block. Access by private link is best when you need to share a video with a limited circle of people.
Select Users with a private link. Click Save and the Copy icon. If you need to refresh the link, click the Refresh icon to the right of it. Don't use private links to embed videos on external sites. The setting will stop working, and the video won't be protected. Access by password is good for closed webinars and internal materials. Select users with a password, enter the password in the field that appears, and click Save. With this setting, when the viewers open the video, they'll see an entry form before playback begins. Unique codes are handy for paid webinars and one-off sales of recordings.
Select users with unique codes. Click Manage Codes, then Generate Codes. Fill in the parameters. Name. This is the label for your own records. Viewers won't see it. The number of codes can be anywhere from 1 to 9,999. You can let several viewers use one code, from 1 to 100. Optionally set an expiration date, after which the codes will stop working. Click Generate, and the set appears in the manager. Select the set you created and click Download. The downloaded file has two columns, code, the access code itself, and activation date, the date of first use, empty if the code hasn't been activated yet.
To delete a set, select it in the manager, click Delete and confirm. Once deleted, all codes stop working, and this cannot be undone. Access by work email is for corporate or educational content, when only employees or students with email addresses on approved domain should watch. Enter a corporate domain, for example, kinescope.io, confirm it and click Save. Here's how it works for a viewer. They open the link, enter the work email in a form, get a message with a code, enter a code and watch the video. The domain restriction is needed when a video is embedded on an LMS platform, a user account, or a closed section of a site.
The player loads only on addresses you explicitly allowed. Even if someone copies the video's embedded code, it simply won't open on another page. In the same privacy section, find Embedding Policy. Select on specific domains, click Add Domain. Enter the site address in the text field. Click Add or click Create New Domain. If the domain is already in the system, it appears in the suggestion list. Pick it from here. Repeat this for each domain you need. To allow embedding on all subdomains, add the third-level domain to the list. For kinescope.io, for example, it's *.kinescope.io.
Click Add. Click Save. To remove a domain from the list, click the cross next to its name. Watermarks work over the player and don't depend on who opened the video. There are three kinds in Kinescope – a logo in the player's corner, static and dynamic watermarks. Let's head to the settings. A logo is an image shown on screen the whole time the video plays. Go to Players, then Player Templates. Open the template you want to edit. On the Primary tab, find Custom Logotype and turn on the toggle. Click Choose Logotype, upload an image and add a title and a link if you need them.
Click Save. The logo appears neatly in the bottom right corner of the video, but this format won't protect your video if someone downloads it and scales it up until the logo slips off the edges of the screen. For that, we move to the next level. A static watermark is text over the video that permanently covers the entire frame. To turn it on, in the player template, go to the Advanced tab. Find the Watermark section and turn on Enable Watermark. Enter the text, a company name, a website, the author's handle, whatever you like.
Choose how it's placed on screen. With Random, the text shows up in different spots at a set interval. With Stripes, the text covers the video so it stays visible in any part of the screen. Then set the size, display frequency, opacity, and style. Click Save. Check the result in the preview window on the right. A dynamic watermark is for cases where you need to pinpoint a source of a leak. If a recording ends up online, the mark shows right away who leaked it. In practice, people know this, which also makes them far less inclined to leak the content in the first place.
This setup takes some backend know-how, so we recommend bringing in your developer or our support team. In the player template, go to Advanced tab, find the Watermark section and turn on Enable Watermark. Next, go to the video that uses the player template and copy the standard embed code. In the embed code, add a watermark parameter with a variable that will hold the user's data, for example, watermark user's data. On your server, in your CMS or LMS, set up passing the data into a variable, the user's email or ID. Place the code on your platform.
Now, every viewer sees their own data all over the video. The mark appears at random in different parts of the screen and doesn't disappear on pause or seek. That's it. Three levels of protection are set up. Access restriction settles the question of who watches. Watermarks add a visible mark on the screen, and DRM encryption protects the file itself. Each tool does its own job, and together they give you maximum protection. Try it now. The first 100 minutes of video and 200 GB of traffic are already available in the free workspace.
No credit card required. And with promo code PROTECT, new customers get 30 days of the super plan. Enjoy full access of everything Kinescope offers for the whole month. And if you need an enterprise plan, message us in the chat or submit a request, and we'll put together a package tailored to your needs. That's all. Thank you for watching. See you on Kinescope. See you in the future.
Video Hosting for Business and Education
A complete overview and step-by-step guide to Kinescope video hosting: upload videos, configure the player, embed them on your site, and track performance with analytics.
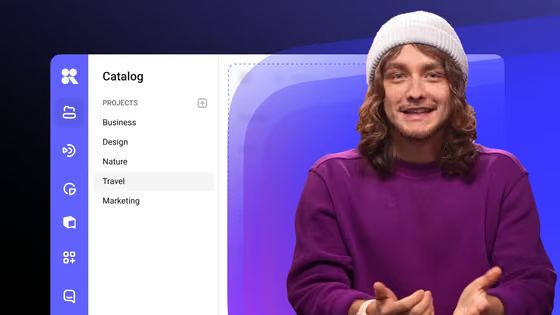
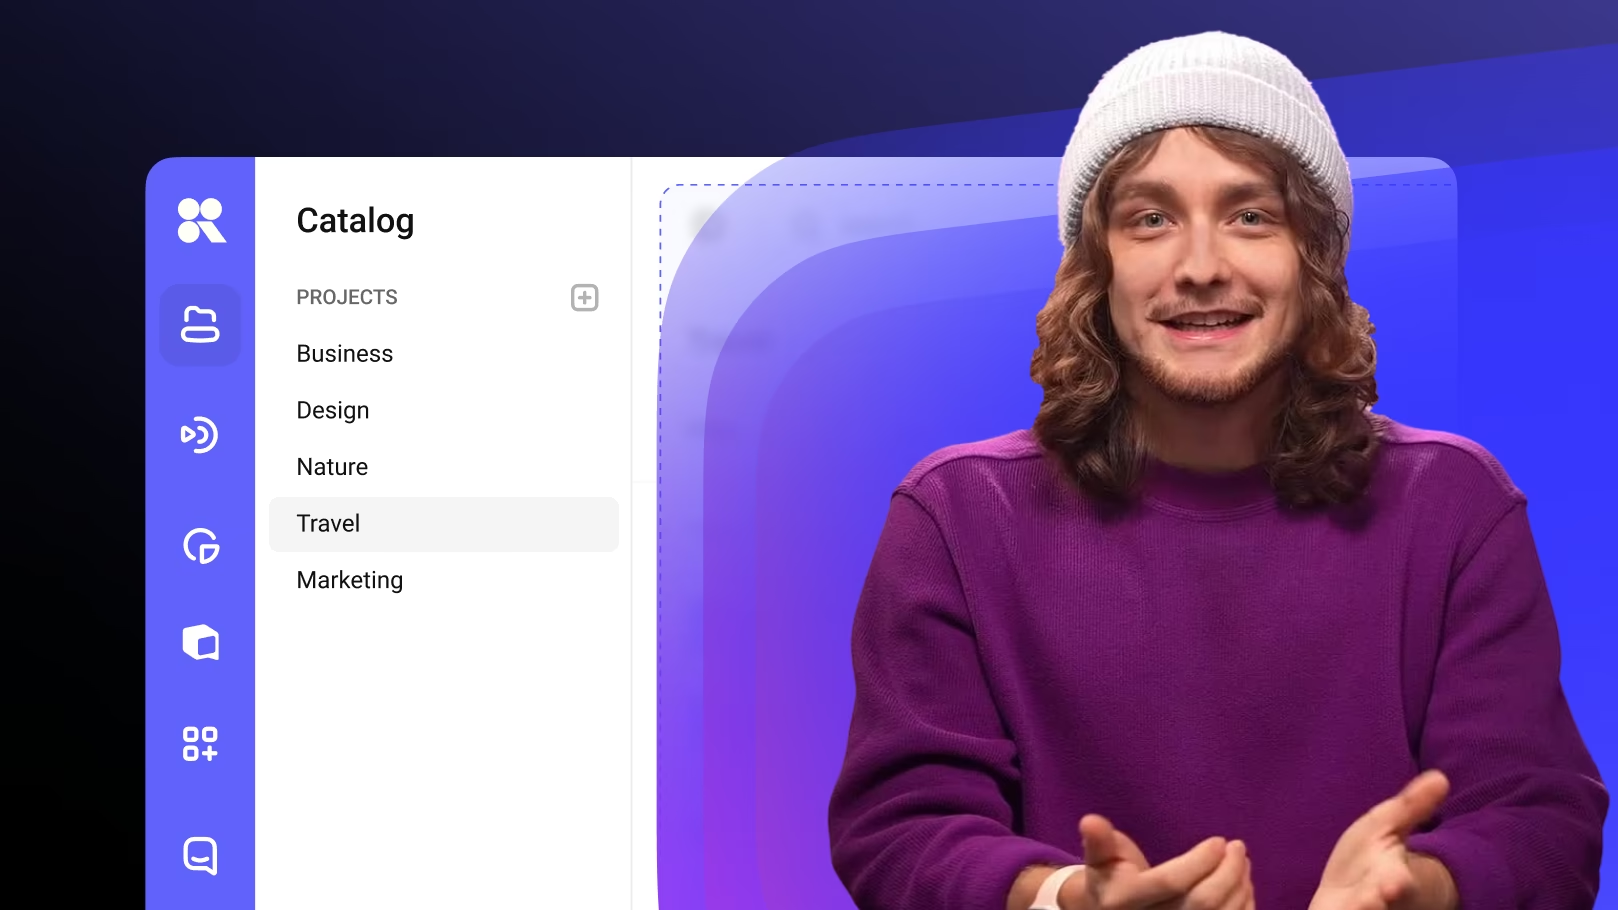
Hi! If you've started this video, you likely need a place to store and embed your video. I'm Dima, and in this video, I'll show you, with real examples, how Kinescope Video Hosting handles these and many other tasks in one place. If you're interested in specific hosting features, click the chapters on the timeline to jump straight to the part you need. Let's create a new project and upload our first videos. In the left panel, click the plus icon and create your first project. Give it a name and, if needed, enable encryption.
We'll leave the default settings as they are. You can always come back to them at the video level. Now, let's upload the first video. Kinescope supports most popular video formats. If your videos are on your computer, upload them using the button or drag them from a folder right into the interface. You can upload an entire folder of videos to Kinescope at once. The catalog will recreate its structure on our side. If you need to collect video from a colleague or contractor, send them a link to the request page. They'll upload videos directly to your library without needing extra access to your account.
You can also upload video via a YouTube link. Just enter the links and the video will be added to your account with metadata, poster, and subtitles. If you previously stored videos in the cloud, connect Kinescope to it and import directly without downloading videos to your computer. And last but not least, if you previously stored videos on any other video hosting, you can use our API to transfer your entire media library in one day absolutely free while preserving your folder structure. You can migrate your library from another host via API using the guides in our Help Center or by contacting Support Chat.
We'll set up the integration and migrate your video library in one day completely free of charge. For now, I'll just drag a couple of files from my desktop. Done. After uploading videos, Kinescope will automatically transcode them into several resolutions and prepare them for viewing. This ensures that Kinescope's content delivery system can quickly load videos for viewers regardless of their location or internet speed. Oh, looks like the videos in the catalog have already been processed. Now, let's go through the video level settings. Set the video title. If you like, add a subtitle and a description below the video.
Choose one of the suggested posters, upload your own, or pick any frame from the video. If needed, you can also download the poster to your computer. Add tags. They will make it easier to search the video library and provide additional organization. Moving on to the privacy settings. We have a separate video about all content protection methods as well as detailed materials in our Help Center. For now, I'll briefly highlight the essentials. In Kinescope, you can enable project level DRM encryption, restrict video access by link, code, password, email, or corporate account, and activate static or dynamic watermarks that appear over the video.
We cover all protection tools in detail in a separate video and in our Help Center materials. For now, let's keep the default settings and move on. Player settings. The customizable player is also a unique and interesting Kinescope product. We've also made a detailed video about it and covered it in the Help Center. But for now, to avoid switching tools, we'll stick with the default player. If you need to upload a new version of a video, you don't have to re-add it. Just update the version in the settings and it will automatically update everywhere it's embedded.
To make your video more than just a playback and actively engage the viewer, add interactive elements. Let's start with annotations. They help viewers see extra comments and external links right on top of the video. To add an annotation, open the interaction tab in the video settings, enable annotations, and click add. Specify the exact appearance time, enter the text, and add a link if necessary. You can place the finished annotations along the timeline. They will appear in the top right corner of the video as a text bubble. Another element is Additional Video.
This feature lets you place links to your other videos directly inside the player. Open the Interaction tab, click Additional Videos, enable the feature, and click Add Video. Select the video from your library, give it a title, and set the appearance time on the timeline. You can upload several additional videos at the same time. During playback, they'll appear in the top right corner of the video with a thumbnail and text description. Finally, attach files to your video, presentations, guides, checklists, or any extra materials viewers can download while watching. Open the Interaction tab, click Attachments, enable the feature, and upload your files.
If needed, give the attachment a clear name. Done. The materials will appear right in the player under the paperclip icon. To make your video easy to watch even without sound, upload a subtitle file or generate them in Kinescope using AI. You can generate two subtitle tracks at once, in the original language and in English. Edit subtitles in the Kinescope interface. Chapters help viewers better navigate long videos and instantly jump to interesting segments. You can add chapters either manually or generate them using AI, all in just a couple of clicks. You can also edit or supplement the result directly in your dashboard.
You can embed videos from Kinescope onto any of your platforms, a custom-built website or mobile app, a Telegram mini app, a website builder, a closed corporate portal, or an LMS. There are two ways to embed your videos. A direct link is perfect if you just need to send a video via email, messenger, or, for example, attach a video to a document. Video opens on a separate web page optimized for any device. And if you want to embed the video directly on your platforms, use the embed code. The code on the page places the video player as a separate block within a site, app, or portal.
The adaptive code adjusts the player size for different screen formats. The fixed one preserves the specified dimensions in pixels. The pop-up code opens the video in a floating window above the page, while the AI code looks like a regular player, but contains the full video transcript based on captions. If you embed the video in this format, ChatGPT and other agents will see the content of the videos and recommend it in their responses. Try it out. That is it. Just copy the code and embed it. The video works. The embedded video does not load your resource because our infrastructure handles the content delivery.
The page loads just as fast and the videos play without any third-party ads. After embed the video, you'll get detailed analytics, views, engagement, geography, and traffic sources. There will be enough data to compile detailed reports and understand through numbers how videos are watched and what to improve. We covered analytics in more detail in a separate video and in the Help Center materials. That is all. Let's summarize. Kinescope is a video hosting that gives you full control over your video. Upload from any source, embed the player without developers, protect from downloading, and track analytics.
Plus, you get an organized video library, team access, a built-in editor, and interactive elements. All of this is available in one place with our unified plan. Try it right now. The first 100 minutes of video and 200 gigabytes of traffic are already available in the free account. No card required. And with the promo code HOST, we give new clients 30 days of the super plan. Enjoy unlimited Kinescope features for a whole month. And if you need an enterprise plan, write to us in the chat or leave a request and we will offer a package solution tailored for your company. That is all. Thanks for being with us. See you on Kinescope. See you in the future.
Kinescope Player: Full Product Overview
A full tour of the Kinescope player: customize the design, add a CTA button and watermarks, turn on SEO optimization, and control the player via API.
Hi! If you're looking for a stable, ad-free player that can be accessed from anywhere in the world and looks like a part of your brand, you've come to the right place. My name is Dima and in this video we'll take a detailed look at the settings of the Kinescope player and explain how it solves these and many other tasks all in one place. If you're interested in specific player features, click on the chapters in the timeline to jump straight to the segment you want. All player templates are stored in the player manager.
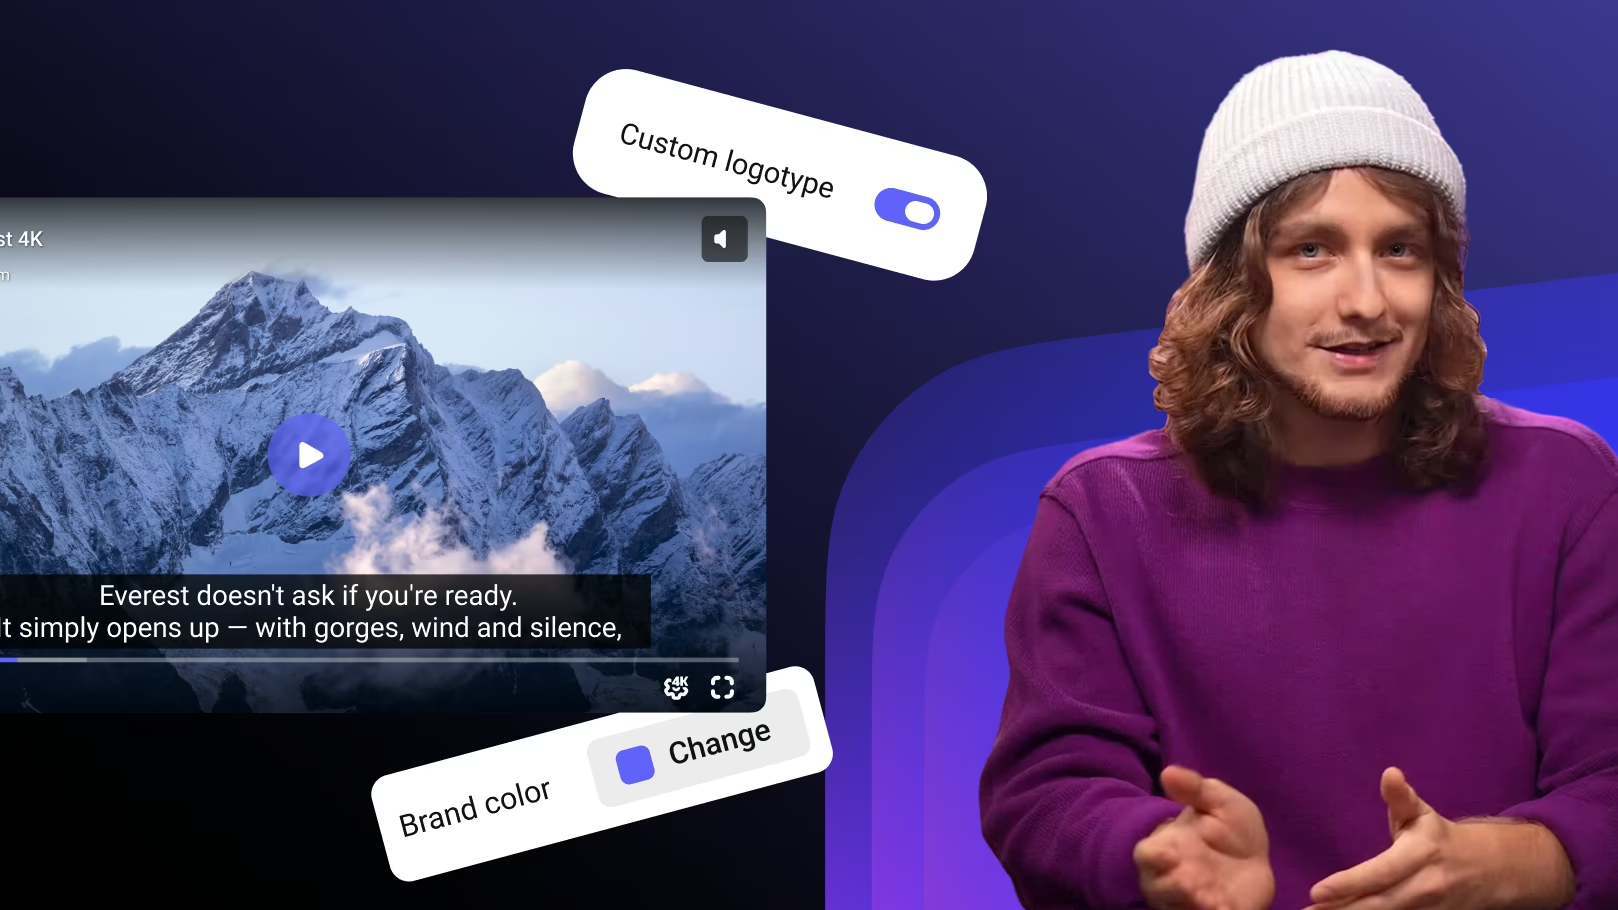
Go to Settings, then to the Players tab. Click on New Player, enter a name and open it for editing. The second way is to create a template directly from the video settings. Go into the video and click on Customize Player or Create New Player and it will automatically appear in the manager. So, click on create new player and proceed to the settings. Pay attention to the player window on the right. This is the preview window. All setting changes are displayed here in real time. Let's start with the basics. You can choose a brand color and it will be applied to the play button, the progress bar and the control panel.
Corner rounding allows you to seamlessly integrate the player into your platform's style. Optionally, you can add a logo to the bottom right corner of the video, and clicking it will open the link you specify. When autoplay is enabled, the video will start automatically when the page loads. According to browser policies, playback will start without sound. Sound will turn on after the first interaction with the player. When background video is enabled, all controls will be hidden, sound will be muted, and the video will loop continuously. This is a convenient setting if you want to use the video as a background or decorative element on the page.
For panoramic videos, there is also a 360 video mode. If the video has a non-standard resolution, the zoom to fill option will stretch it to fill the entire screen area from which the user is watching. For example, a vertical video with zoom to fill on a smartphone will occupy the entire screen. The download video option allows viewers to download the video. By default, this option is disabled. When enabled, a download icon appears below the player. The video can be downloaded in different resolutions, or you can download the transcript if the video has subtitles.
Default quality, speed, and volume settings determine the parameters with which the video will start for the viewer. If there are no specific requirements, we recommend leaving the default settings. At the end of the video, several scenarios are available. Looping, returning to the poster, or a rewatch button. And for those who want to convert a view into a targeted action, there is a call to action. A screen with a button appears in the video. You need to set a headline and a link, and the viewer will go to the product page, application form, or lead magnet.
Thanks to the call to action, the video stops being just an engagement tool and becomes a step in the sales funnel. Before launch, you can choose to show or hide the headline with the subheadline, the large play button, the playlist block, and the control panel. By default, everything is minimalistic. During playback, you can control the display of the headline, the progress bar, and the control panel. Different settings are suitable for different types of content. Let's move on to the advanced settings. Start the video with subtitles. When this feature is enabled, the player will start the subtitles and automatically select their language based on the user's browser settings.
We explain how to generate subtitles and chapters for videos using artificial intelligence in our video about video hosting. Auto-pause. If there are several players on the page, when one is started, the others will pause. The Cast to device section. Chromecast and AirPlay support is enabled by default. Viewers can cast the video to their TV directly from the player panel. The menu settings section is the gear icon in the control panel. Here we control what the viewer sees in the menu. Video quality, audio only mode for slower internet connections, playback speed, searching for subtitles and video scaling.
In the control bar elements section, each button can be enabled or disabled individually. Playback, volume, subtitles, playlist, picture-in-picture, track switching. We recommend the minimum set for short videos and the full set for long educational content. The watermark section. You can add custom text over the video to indicate authorship, adjusting the display type, size, frequency and transparency. We explain how to enable dynamic watermarks in our video about content protection and in the knowledge base. There are some nuances there. And the last section is additional. Saving player settings preserves the viewing position and other settings for each viewer.
When a viewer returns to the video, the player will start from the same spot where the user left off last time. Mouse click or tap control allows you to pause or rewind by clicking directly on the video. The About Kinescope item in the context menu can be disabled on paid plans. SEO optimization adds the video's metadata title, description, and poster to the embed code. Search engines see this data and recommend the video in their search results. It's important to note that this setting does not work if domain restriction or DRM encryption is enabled.
A crucial option is data collection. Without it, the analytics in your dashboard won't be updated. This feature is enabled by default. These are the player settings. If you want to create multiple player templates for different content types, we have a separate video guide with detailed examples. There is also a brief reference guide in the files attached to this video. You can get it by clicking the paperclip icon in the player control panel. If you are a developer and want to control the player via code, we'll show you how it works now.
With the iFrame Player API, you can control the player programmatically, play, pause, seek, adjust volume and quality. You can also subscribe to events such as pause, video end and CTA button clicks. This is especially valuable for LMS platforms for hosting courses. The API allows you to track viewing progress, automatically move to the next lesson, and link views to the grading system. The API also provides playlist management, video switching, track change events, and synchronization with your application's logic. And if you are building a product on a mobile platform, we have ready-made SDKs for Swift, Kotlin, Flutter, React, and Vue, all open source and customizable.
Full developer documentation is available in our knowledge base. Links are in the annotation. If you need to monetize your content and add third-party ads, like Google Ads blocks, our player also supports ad tags. The ad tag URL parameter is passed in the embed code. We support VAST, VPAID, and Google's IMA formats. Here's what you get with the Kinescope Player. Videos without ads or third-party logos, a player customized to your style, detailed analytics, flexible embedding, optimization for SEO and AI, as well as many other tools. And all of this is managed from a single Kinescope account.
You can try it out for free right now. After registration, you have an access to 100 minutes of video, 200 gigabytes of traffic, and team access for two people. All of this is available without linking a credit card, and with the promo code PLAYER, we give new clients 30 days of the super plan. Test Kinescope's unlimited features for a whole month. And if you need an enterprise plan, just write to us in the chat or leave a request on the website, and we'll offer a solution for your needs. That's all. Thank you for being with us. See you on Kinescope. See you in the future.

Try Kinescope free
100 minutes of storage, 200 GB of monthly traffic. No card required. Cancel anytime, no renewal surprises.