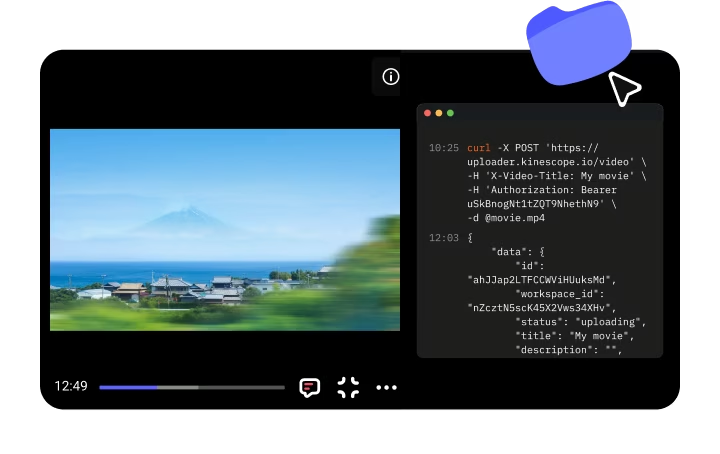
Hi. If you're looking for a platform for webinars, streams, or live broadcasts where the stream runs reliably, records automatically, and embeds easily on your site, you've come to the right place. My name is Dima. In this video, I'll show you by example how Kinescope's live streaming platform handles these and a lot of other jobs in one place. If you're interested in specific features, click the chapters on the timeline and jump straight to the part you need. In your workspace, go to the Live section. Streams here are organized into projects, handy if you run broadcasts for different audiences or brands.
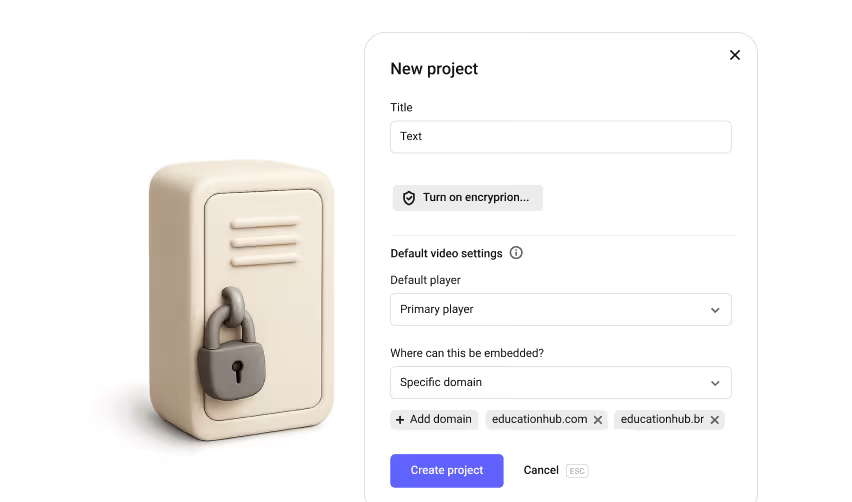
Click the plus next to the projects and create a new one. Give it a title, pick a default player if you need one, and set where it can be embedded. Click Create Project. Click the New button and choose the event type. One time, the live stream and its recording are available at the same link. Recurring, one permanent link for all future streams, each recording gets its own link. Give the event a name. It shows above the player when embedded. Check Save video after live stream, and the recording appears in the Catalog automatically as soon as the broadcast ends.
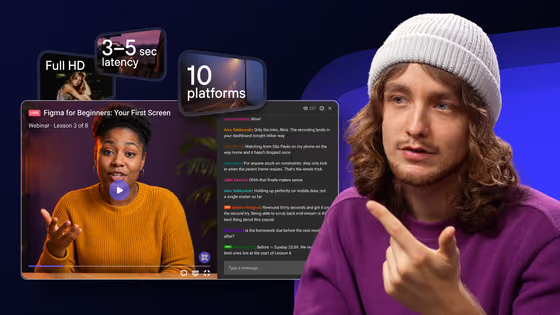
DVR lets viewers rewind the stream while it's still live without waiting for the recording. Turn on Autostart live broadcast, and the broadcast goes live the moment the signal arrives. In most cases, we don't recommend enabling it. The exception is a professionally produced stream where specialists have full control of everything before the signal reaches Kinescope. Standard broadcast delay, 10–12 seconds, works if you're not planning much interaction with viewers. The connection will be more stable. Reduced, 3–5 seconds, is best when you have good, stable internet connection and you'll be talking and working with your audience. Click Create Event.
The event is created and we land in its workspace, which has four sections. Settings is everything you configure before going live. Studio is your main screen during the broadcast. Analytics is the stats that build up afterwards. And Health Monitor is the feed itself, bitrate, FPS, and packet loss in real time with the metric history kept for the whole broadcast. Let's walk through each one, starting with the settings. The preview window on the right is always visible. Every change shows up there in real time. Set the event title. It appears over the thumbnail in the player.
If you like, add a subtitle, the topic, the speaker's name, or a short description. In the Thumbnail section, choose one of the ready-made covers or click Upload an image to add your own. The thumbnail shows in the player before the stream starts and after it ends. If you want to announce the broadcast in advance, turn on Schedule event and set the start date and time. Viewers who open the link early see a countdown timer. In the Privacy section, you set who can watch the stream and where the player can be shown.
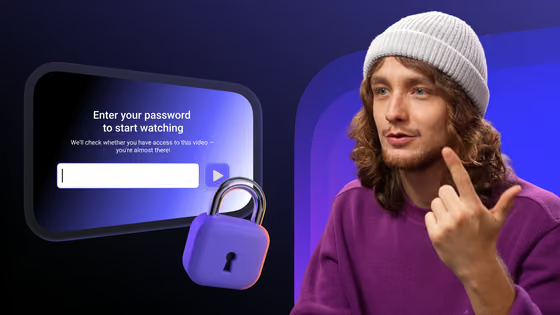
By default, the broadcast is open to everyone and the player works on any site. If you need to restrict access by password, domain, or corporate account, we cover that in a separate video on content protection. In the Player section, pick a player template from the ones already set up in your account or create one right here with Create new player at the bottom of the Current player list. We cover everything the Kinescope player can do in a separate video. The Chat section holds several settings of how chat behaves. Show chat in the player's link.
Turn it on so chat is visible to viewers who open the stream via a direct link. Chat inside the player. Choose how chat appears in the embedded player. Do not show, show next to the video, or show only in full screen. Expand the chat on load. Turn it on if you want chat to open right away with no extra click. Hide users' links in chat protects against spam and unwanted external links. Participants see only their own messages. Each viewer sees only their own messages and the organizer's replies. Show members.
Turn it on so viewers can see how many people are on the stream. Unique usernames in the chat prevents confusion when several participants use the same nickname. Messages pre-moderation. Every message is held for a set time, during which a moderator can review it and delete it if needed. Slow mode limits how often a single viewer can send a message. Useful on live broadcasts so chat doesn't turn into a flood. The Additional section has two settings you already chose when creating the event. Here you can change them. Autostart live broadcast, the broadcast starts as soon as signal arrives with no preview stage.
And DVR lets viewers rewind the stream during live broadcast. In the Storage settings section, you manage the recording. Turn on Save video after live stream and choose the folder in the Catalog under Records storage location. That's where the recording lands automatically as soon as the broadcast ends. And last, Streaming settings, RTMP. This repeats the RTMP URL, the stream key, and the merged link for mobile apps. Let's go to the Studio. This is the main control screen during the broadcast. Inside there are three tabs, Chat, Restreaming, and Banners.
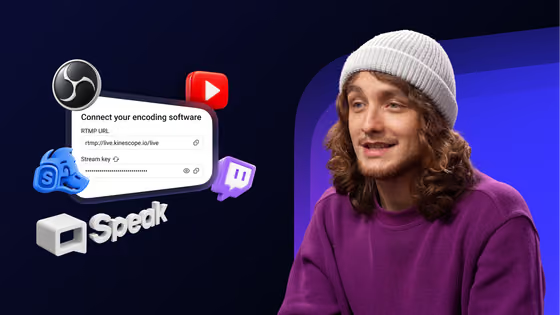
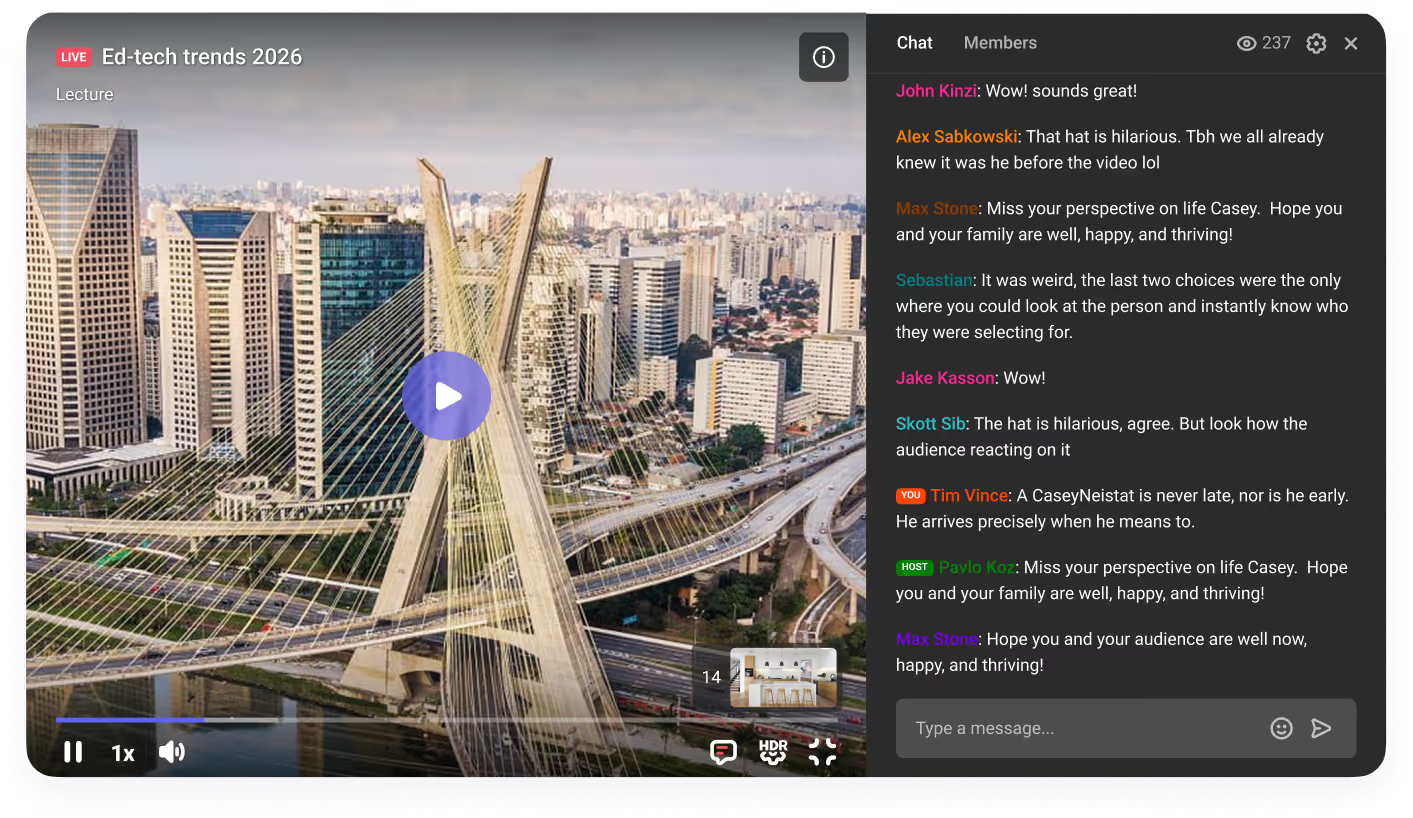
In the center of the Studio, you immediately see the connection details, the RTMP URL and the stream key. You'll need both when you connect your signal source. In this demo, we won't go into video encoder settings. We have separate video guides with step-by-step setup. I'll just connect the feed and we'll keep moving through the sections. The video encoder is connected and the feed is coming in. To start the broadcast for viewers, click Go live, and you're live. On the left of the Studio is the chat panel, with two tabs. The first one, Public, is the chat itself.
You see viewers' messages in real time and moderate them. The second tab is Members, everyone currently on the stream split into Live hosts and Viewers. After the broadcast ends, the chat is saved in sync with the recording. When you play the video back, you see what the audience wrote at every moment of the stream. If it matters to reach your audience on several platforms at once, use restreaming. Open the Restreaming tab in Studio and click Add Channel. Give the channel a name, paste the platform's RTMP URL and stream key, and click Add Channel. Done.
Add as many platforms as you need: YouTube Live, Twitch, Facebook Live, Vimeo Live Stream, or any other service that supports RTMP. You can connect up to 10 restreaming channels at once. The third Studio tab is Banners. These are clickable elements that appear over the player right during the broadcast. Click New Banner, the setup form opens. Horizontal works for wide banners at the bottom or top of the screen. Vertical is for a compact format on the side. Then, set the banner's position on screen. Pick it from the dropdown. Title is the banner's main text.
Description is an optional second line, up to 60 characters. In the URL field, enter the link the viewer goes to when they click the banner. Button. Turn it on if you want to add a button on the banner. Display duration, how long the banner stays visible to viewers. With a limited duration, the banner shows a countdown. Banner color theme sets the background color. Text color comes in two options, white or black. Button color is picked from a palette, and button text color is white or black as well. And last, image.
Click Upload Image and add an illustration or logo so the banner looks more eye-catching and recognizable. A banner can only be turned on after the stream has started, and only one banner can be active at a time. Important, banners aren't shown in a stream recording. They work only during the live broadcast. You can put the stream on any platform right from here. In the upper right corner of the page, there are two buttons, Link and Embed. If it doesn't have to run on your own site, use the direct stream link. It opens an optimized webpage with the player and chat.
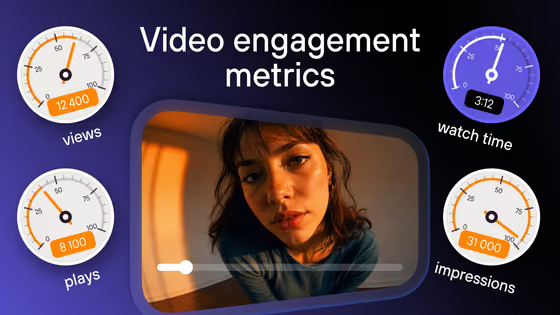
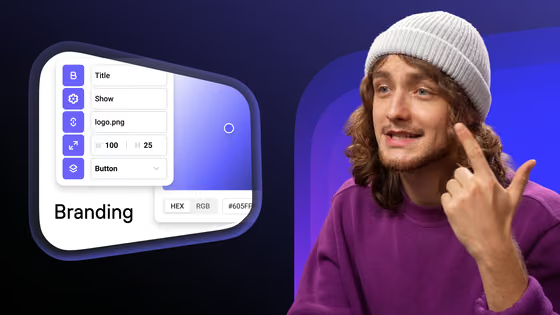
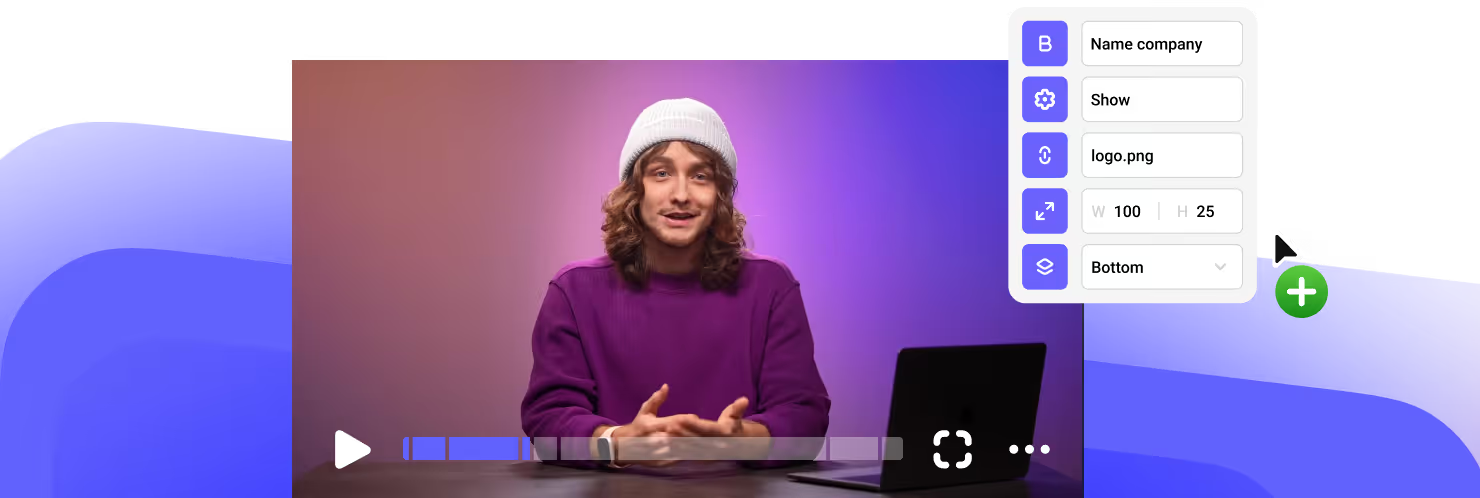
You can style the page for your brand by adding a logo and a link to your site. And if you want to run the stream on your own site, copy the embed code and place it on the page. The player embeds right there with no jump to a third-party page. Want a chat next to it? Copy the separate chat code and drop it into the neighboring block. Viewers watch the stream and talk without leaving your page. After a broadcast, open the Analytics section. Viewer count in real time, peak viewing moments, audience geography, and traffic sources.
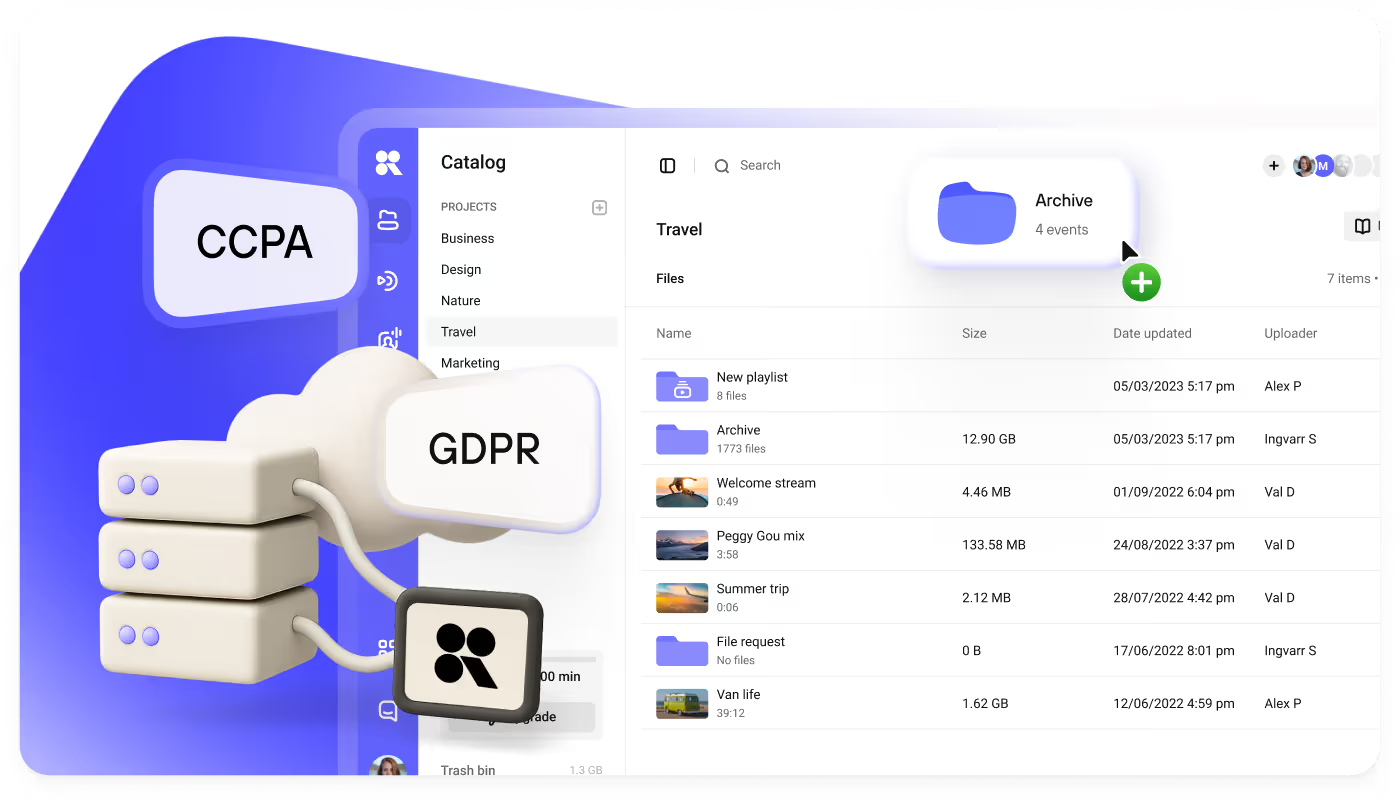
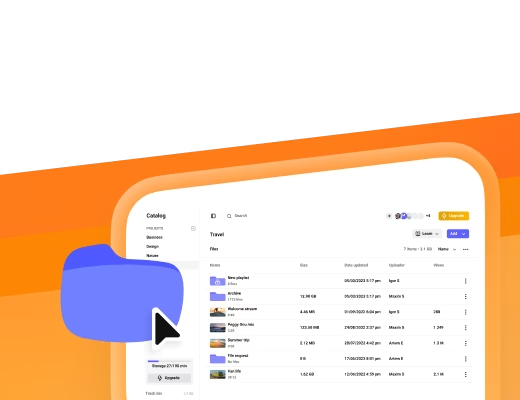
That's enough data to judge how the broadcast went and to see what to improve next time. Meanwhile, the recording is already in the Catalog ready to watch, edit, and publish right after the broadcast ends. To find it, go to the Catalog section and open the project and folder you set in the storage settings when you created the event. The recording is already there. Open it, and from there, you work with it like any other video. Edit it, set up access, add subtitles and chapters, embed it on your site, or send the link to viewers who missed the broadcast. Try it now.
The free account gives you 20 minutes of Full HD streaming, up to 20 viewers, and restreaming to 2 platforms, all with no credit card required. And with promo code LIVE, new customers get 30 days of Super plan, unlimited Full HD streams, restreaming to 10 platforms, and an unlimited number of team members. Test it free for a whole month. And if you need an enterprise plan, message us in chat or submit a request. We'll put together a package tailored to your needs. That's all. Thanks for watching. See you on Kinescope. See you in the future.